After some internet perusing, I found that most people buy yogurt makers to help incubate their cultures at the proper temperature until they are ready. It seems it is more difficult to get everything right on your own, but it is doable. For my first batch, I heated 1 quart of whole milk to 140 degrees F on the stove, then allowed it to cool to 110 degrees F. At this point, I mixed in a few heaping tablespoons of the starter culture (plain yogurt with active cultures). Be sure to blend the yogurt in well. If you want, you can use a small portion of the heated milk to thin out the yogurt, then add this mixture into the rest of the milk for easier mixing. Let this sit on the counter for 16-24 hours. The longer it sits, the more firm and tangy it will become. I had a moderate success with this version, though my yogurt did not set up to a rich, thick density as I had hoped.
The next step was to turn this initial pilot study into a full fledged experiment. Luckily for me, my local kitchen store was having a sale, so I got a Donvier electronic yogurt maker for a decent price. The maker comes with 8 individual cups that contain a nice size serving of yogurt. This gadget may not be ideal for making a large quantity of yogurt, but it works for my needs.
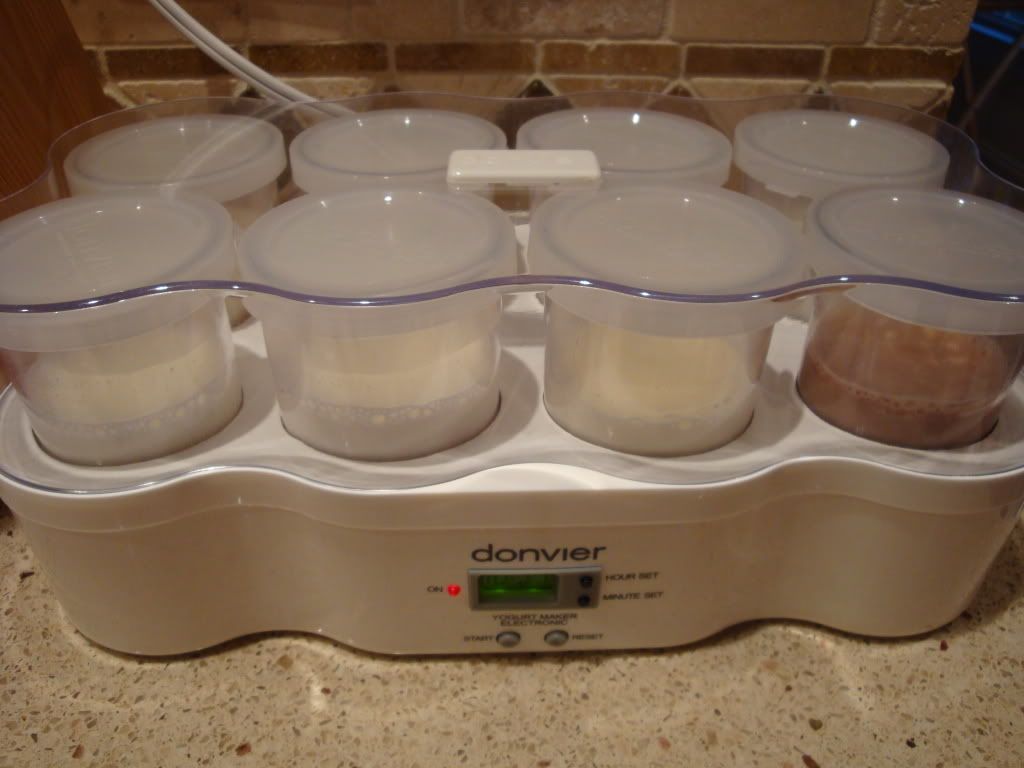
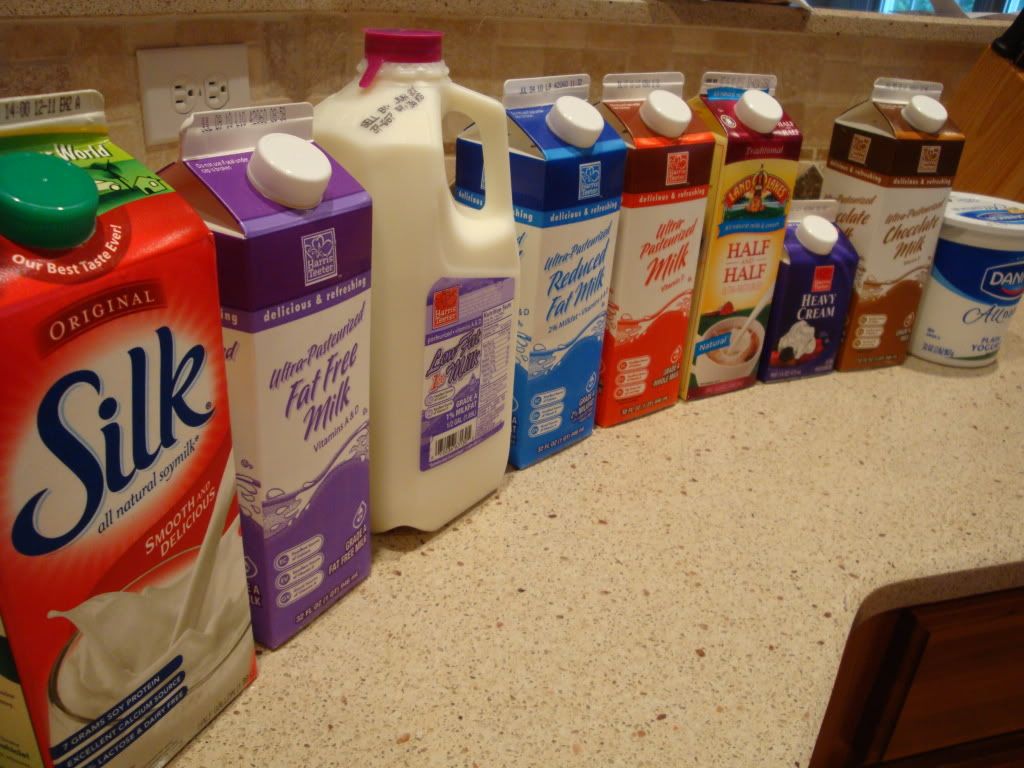
I had heard that milks with a higher fat content made a thicker yogurt. So my first experiment was to see if this was true. I chose eight different milks: soy, skim, 1%, 2%, whole, half-and-half, heavy cream, and chocolate. The directions are pretty much the same as for the counter-top yogurt above, though the machine came with a handy thermometer that tells you when to add the starter culture. I ran the machine for 11 hours, then put the yogurt in the fridge for 12 hours.

The overall trend was that milks with lower fat content formed looser yogurts, but this was not 100% true across the board. Soy and skim milks produced very soft yogurts with a sharp tang. 1% milk made a yogurt similar in consistency to Yoplait with a decent tang. 2% and whole milk were a bit thicker and I noticed that as the fat content increased, the overall smoothness of the yogurt also increased. Heavy cream, which I expected to be even thicker, was almost as liquidy as skim milk and it just tasted very fatty.
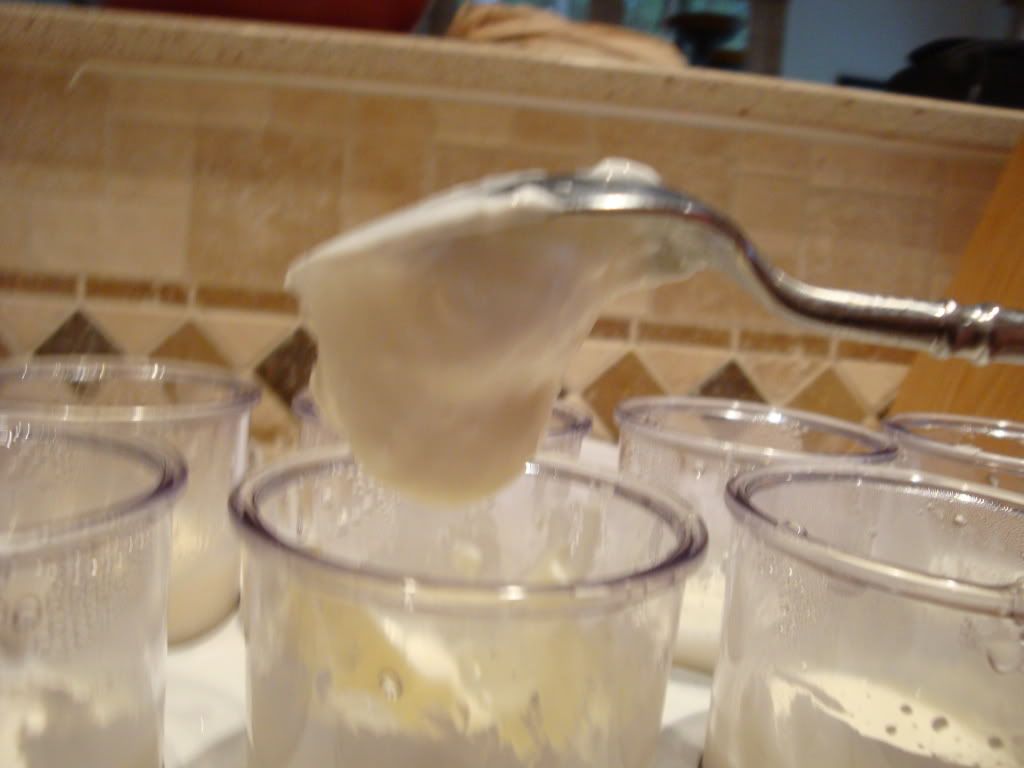
Half-and-half, on the other hand, turned out very thick, almost like Greek yogurt. It was smooth and creamy with a good balance of tang.
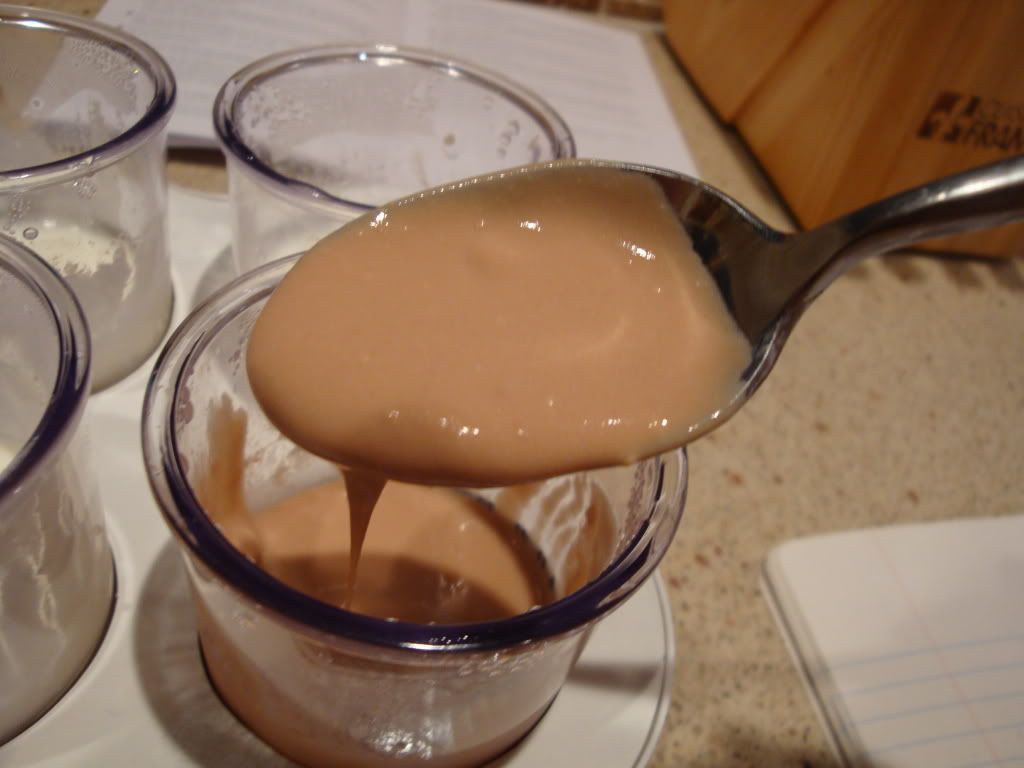
The real surprise of the group was chocolate. It had a thickness more like whole milk (they have similar fat contents), but the taste was amazingly earthy. The bacteria consumed the high sugar content of the milk (30g/cup compared to 13g/cup in whole milk) and left the chocolate flavor behind. So you end up with an unsweetened chocolate yogurt that was quite delicious. I may make it again at some point as a surprising dessert.
While I did have my answer, I was sad to learn that I would have to eat half-and-half yogurt to get the consistency I wanted. So next I turned to tricks to thicken up the yogurt. Many people recommend adding skim milk powder to the initial mixture to add thickness. Lastly, you can strain your yogurt through a coffee filter or paper towels set in a colander in a large bowl to collect the water. I did this with my first batch of yogurt and found I had a delicious, thick yogurt at the end. The only problem with this method is that you end up losing about 1/3 to 1/2 the volume of the yogurt and you also condense the caloric content. If you read the yogurt containers, they add either gelatin (not vegetarian) or agar (from seaweed, so it's vegetarian) to thicken up the yogurt. On subsequent batches, I have bloomed a 0.25oz package of gelatin in 1/4 cup of water, then added this to the yogurt. The result was very firm, so I will likely use only about half of a package in the future, but the gelatin definitely did its job.
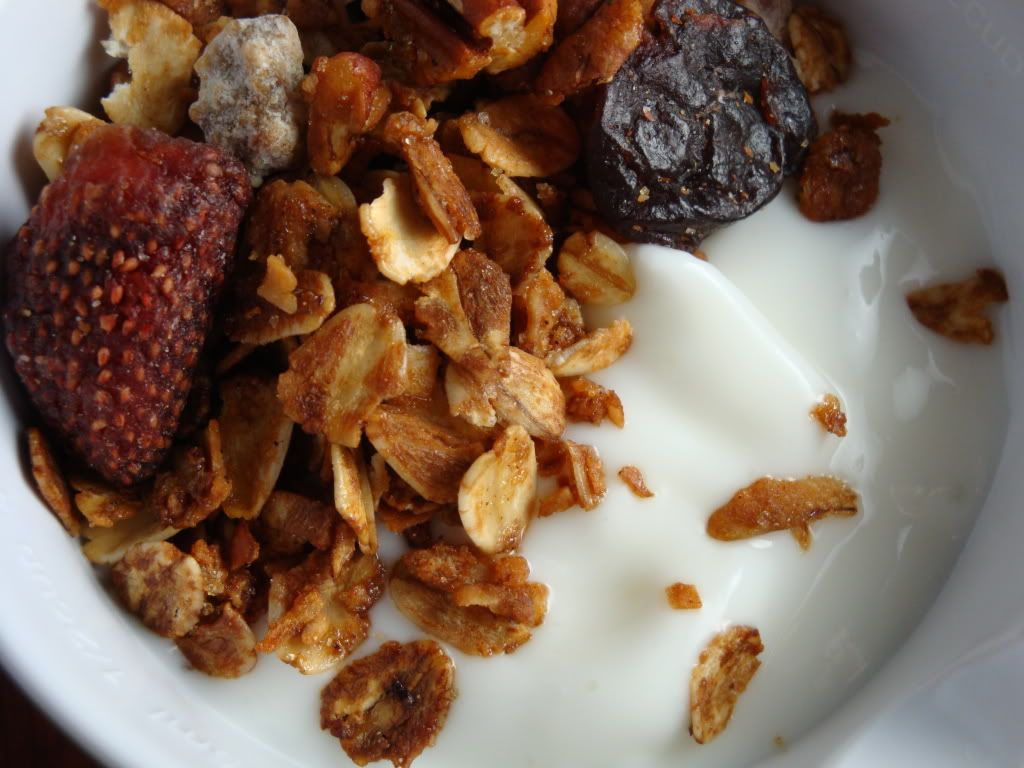
There's nothing more satisfying than a meal for which you have made everything from scratch. One of the few ingredients you cannot buy at the store is a sense of accomplishment, and yet it is one of the best ways to make your meal taste ten times better. Homemade yogurt with homemade granola may sound simple, but you get a lot more joy crafting everything yourself than you do buying it in the refrigerator section. So go ahead, start playing with some bacteria.
1 comment:
Hi! Great experiments. I make my own yogurt in my crockpot, no fancy yogurt-maker needed (although I wouldn't mind if someone bought one for me!). I make a batch with either 2% or whole milk, and then I strain half of it to make Greek, and keep the rest as regular. Yes, you up the caloric content of yogurt when you strain it, but you also lose a lot of the carbs and the sugars as the whey drains out, and you end up with a high-protein, low carb/sugar treat. And you can keep the whey to add to other baked goods! Check out my blog if you want to see how I make yogurt.
Post a Comment