Friday, September 24, 2010

Knead-less Bread

In the back of my mind, I maintain a list of the various culinary skills I want to work on. On the list are learning to make sushi, putting together a good pie/pastry dough, using my smoker, and baking really good bread. This last item came to the forefront of my mind when I stumbled across a Cook's Illustrated recipe I've had for a couple of years. I love Cook's Illustrated because they a) test every component of a recipe to figure out what's important, and b) break down every step to make normally daunting recipes more manageable to the home cook. So here goes my first foray into bread baking.

Bread can be difficult if you don't know what to expect or what you are looking for. And even then, you may just have to accept the dense, flavorless brick that comes out of the oven. But this recipe promises a rustic-style loaf with a lot less work. Just like how stainless steel is not stain-proof (it stains less), this is not quite a no-knead recipe, but rather a knead-less one.

Knead-less Bread
Yields 1 loaf. Recipe from Cook's Illustrated.

Ingredients
3 cups all-purpose flour
1/4 tsp yeast
1 tsp salt
3/4 cup water, at room temperature
1/2 cup mild beer, at room temperature
1 tbsp white vinegar
Cooking spray

Directions
Wet & Dry

Whisk together the flour, yeast and salt in a large bowl. In a small bowl or mixing cup, mix together water, beer and vinegar. Fold the liquid mixture into the flour mixture until the dough comes together. It will look "shaggy" (you'll know it when you see it). Cover the bowl and let the dough sit at room temperature for at least 8 hours and up to 18 hours (this is something that is easy to set up before you go to bed). In lieu of lots of kneading, this recipe just lets the dough rise for longer, allowing the gluten to develop on its own.
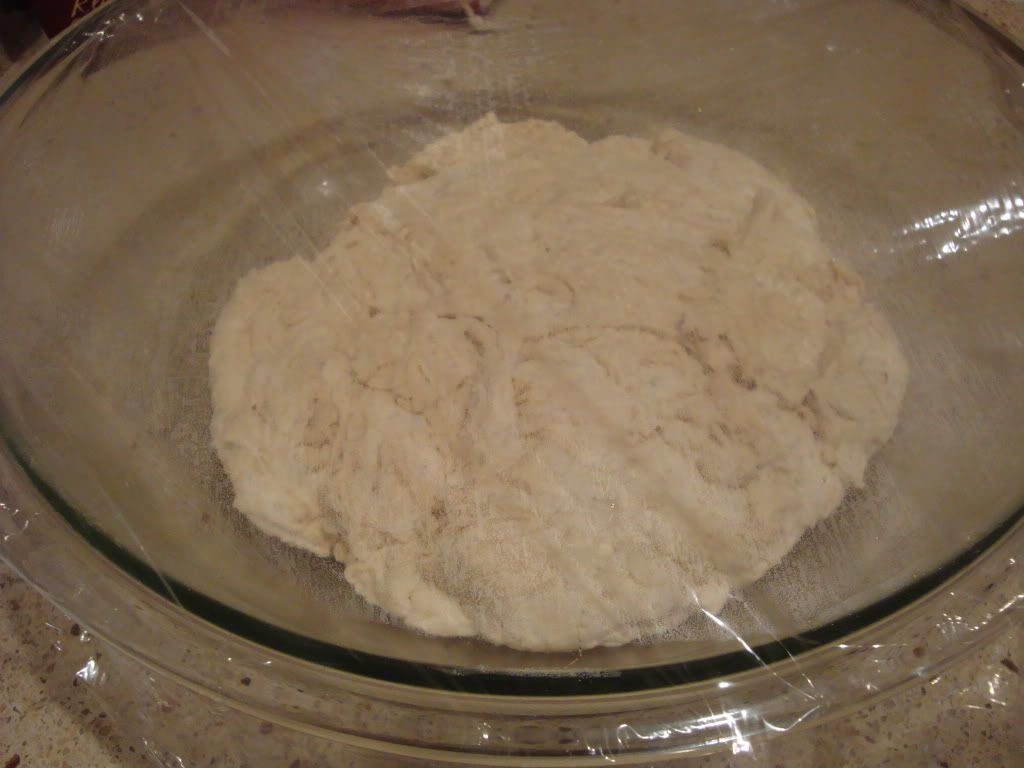
Shaggy Dough

Prepare a 10" skillet (size, in this case, does matter) by lining it with an 18" by 12" sheet of parchment and spraying this with cooking spray. Turn the dough out onto a lightly floured surface and knead by hand 10-15 times until it is a smooth ball. Shape the dough by pulling the edges toward the middle. Transfer the dough, seam-side down, to the prepared skillet. Lightly mist the dough with cooking spray and loosely cover with plastic wrap. Allow to rise at room temperature until it has doubled in size and barely springs back when poked, about 2 hours.

Thirty minutes before you want to start baking, adjust the oven rack to the lowest position (to allow ample room). Place a large Dutch oven with its cover on the rack and preheat everything to 500 degrees F. When I knew I wanted to make this recipe, I kept my eye out for a good quality Dutch oven on sale. Finally, a local kitchen store slashed some of its prices for a summer sale and I knew the universe was telling me that it was bread time.
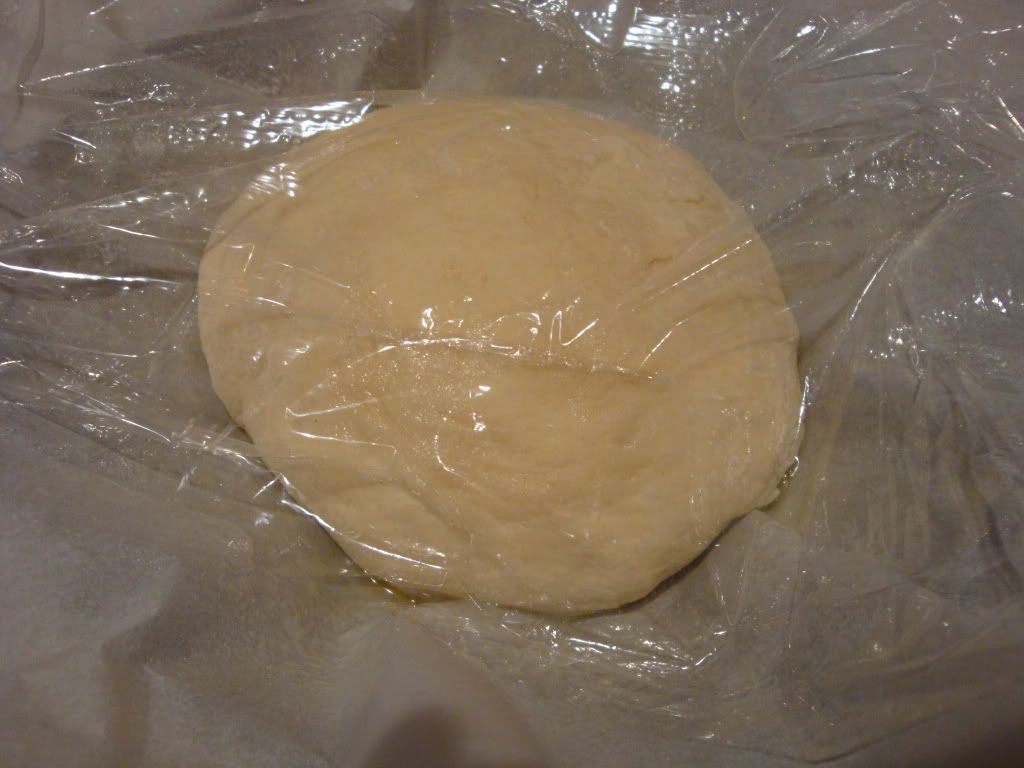
Risen Dough

Lightly flour the top of the dough and score it with a sharp knife (to release tension). Carefully remove the Dutch oven from the oven and remove the lid. Pick up the parchment and dough and carefully lower them into the pot. Let any excess parchment stick over the sides. Cover the pot and place it back in the oven. Reduce the temperature of the oven to 425 degrees F and bake, covered, for 30 minutes. This first high temperature baking in a covered pot helps to steam the bread and cook it through before you brown the outside in the next step.
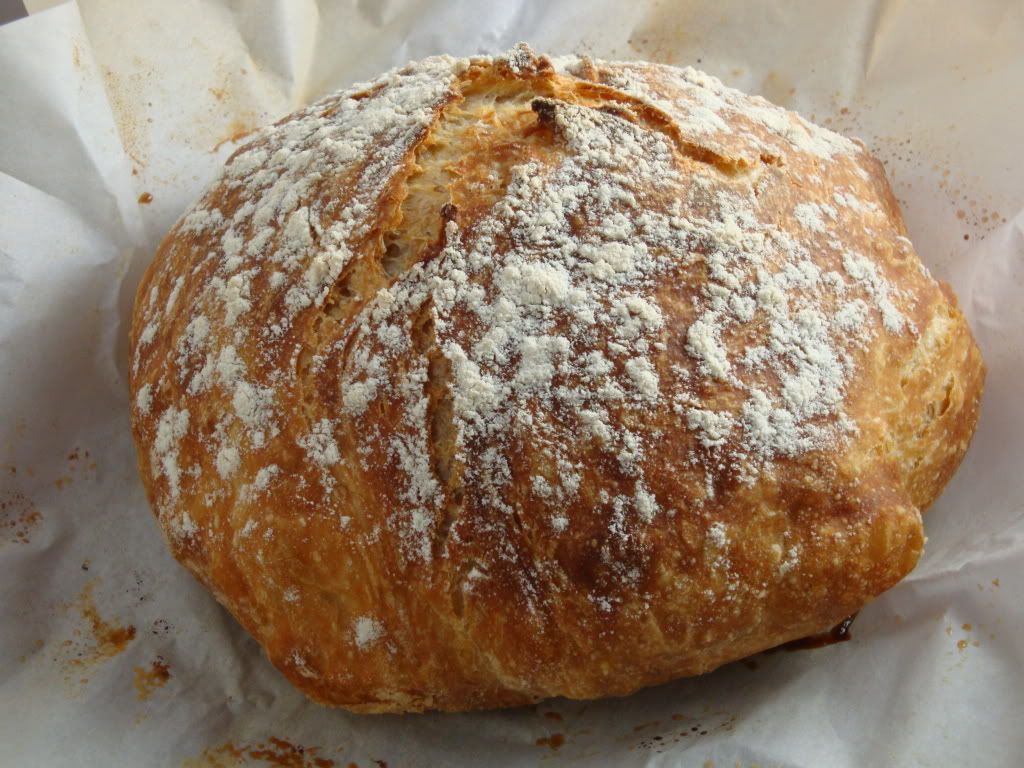
Un Beau Boule

Remove the lid of the Dutch oven and continue baking the bread until the center of the loaf registers 210 degrees F on an instant-read thermometer and the crust is golden, about 20-30 minutes more. Carefully remove the bread from the pot and transfer to a wire rack. Cool completely, about 2 hours.
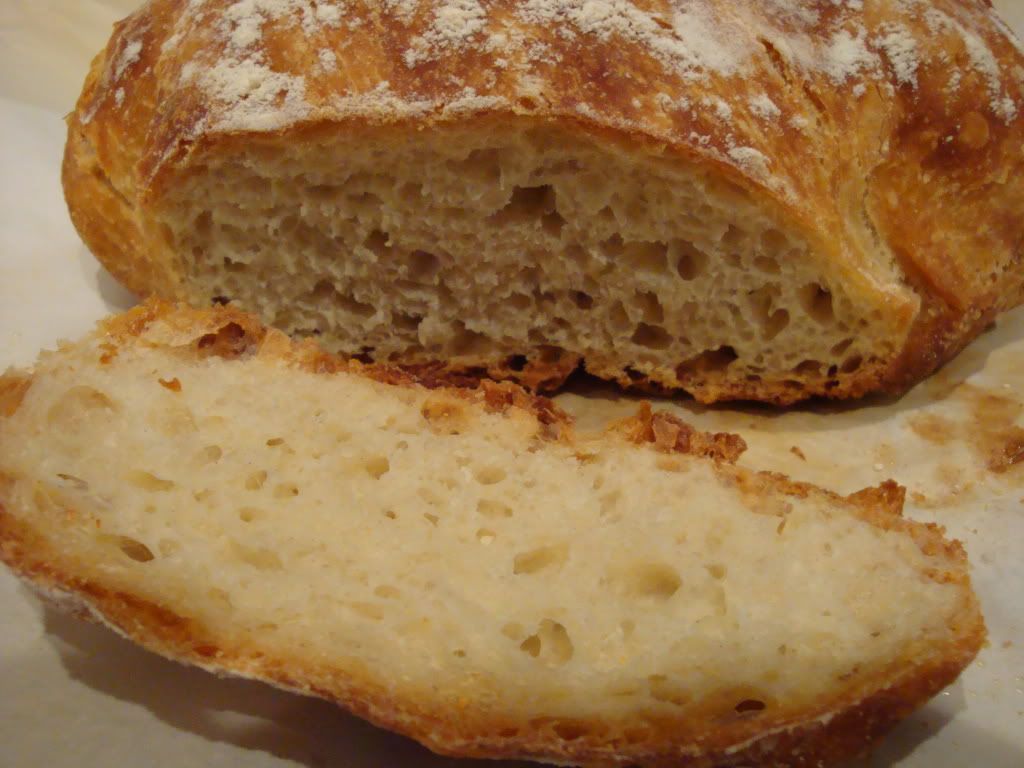
Sliced Beauty

For a total bread newb, this loaf turned out spectacularly. Everything about it was spot on. It was crusty and sturdy on the outside, but the inside was soft, delicate and it tasted bready (knead-less to say, I was happy). I broke out the homemade strawberry from earlier in the summer to celebrate this spectacular achievement. I will admit, the bread did not maintain this beauteous character for more than a couple days before it started to get soft around the edges, but the time we had together was just magical. If, like me, you want to dip your toe into the pool of bread-baking, start with this recipe. Before we know it, we'll be ready for the big plunge into kneaded bread.
Sunday, September 19, 2010

Pappardelle with Corn Pesto

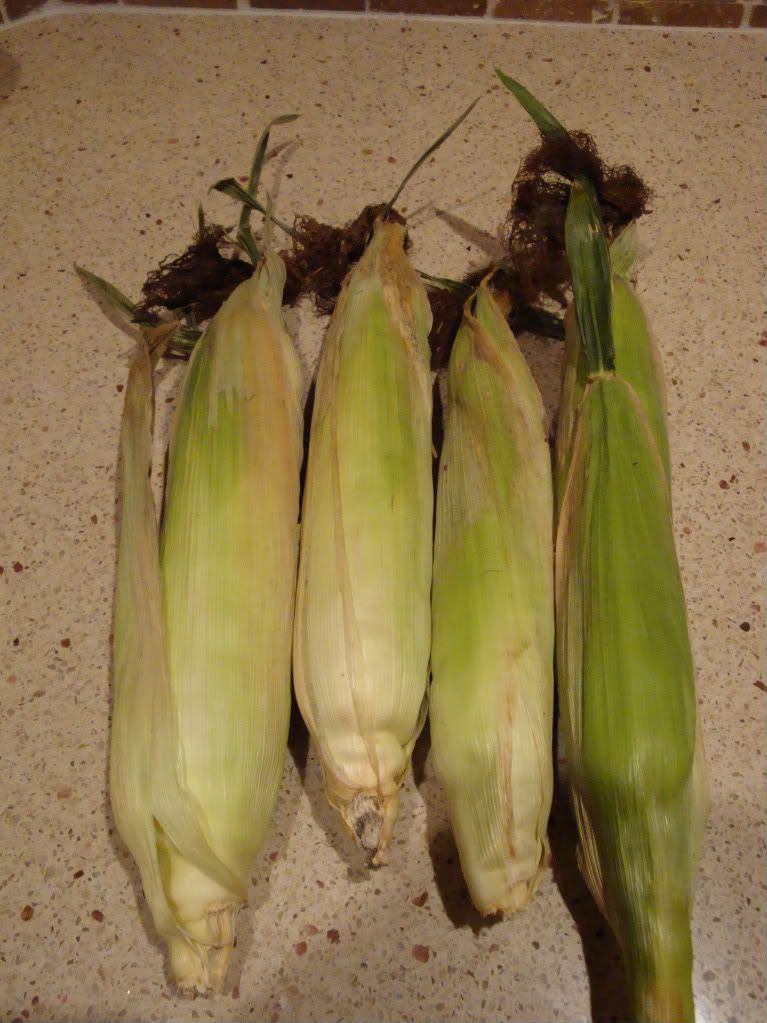
Corn Soldiers

At the height of the summer corn season, I often feel like I'm up to my ears in ears. Strands of corn silk hide in various corners of my kitchen. Every time I open my CSA box, I'm horrified to see more corn. Just when I get rid of all of my tomatoes and zucchini, armies of husked soldiers descend upon my house. This is when you have to turn to food blogs, websites and magazines for inspiration. Luckily for me, during the height of this corny panic attack, an issue of Bon Appetit arrived at my door telling me, "Everything is going to be alright. We feel your pain and we can help."

Tagliatelle with Corn Pesto
Makes 6 servings. Adapted from Bon Appetit

Ingredients
1 tbsp olive oil
4 slices turkey bacon, sliced in half lengthwise, then crosswise in 1/2" pieces
4 cups corn kernels (about 6 ears-worth of corn)
3 cloves garlic, minced
1.25 tsp salt
3/4 tsp black pepper
1/2 cup Parmesan cheese
1/3 cup pine nuts, toasted
1/3 cup olive oil
8 oz pappardelle
3/4 cup basil, torn, divided

Directions
Heat 1 tbsp olive oil in a large skillet over medium heat. Cook bacon until crisp and brown, then transfer to paper towels. Add corn, garlic, salt, and pepper to pan and saute until corn is tender, but not browned. Reserve 1.5 cups of the corn in a small bowl.

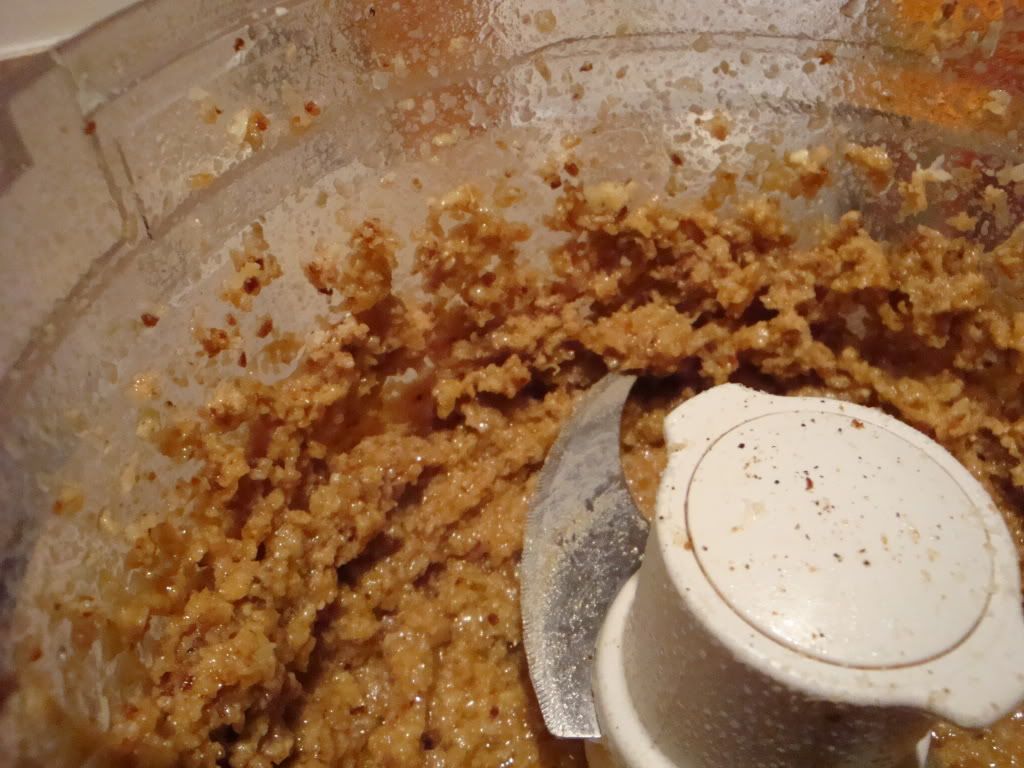
Corn Pesto

Place the remaining corn into a food processor. Add Parmesan and pine nuts. Blend this mixture until it is well combined. Stream in olive oil until the pesto is smooth.

Cook pasta in salted water in a large pot until just al dente. Reserve 1.5 cups of the pasta water and drain the pasta. Add the pasta back into the pot along with pesto, corn, 1/2 cup basil, and bacon. Toss mixture together over medium heat until ingredients are evenly distributed. Add in pasta water, if necessary, 1/4 cup at a time until pasta and sauce are at the desired consistency. Season with salt and pepper. Transfer to a bowl and sprinkle with remaining basil and Parmesan to taste.

Pappardelle with Corn Pesto

This is one of the most creative ways I've seen corn used. It could have become cornbread, succotash, corn relish, corn on the cob, or corn chowder, but instead it made a delightfully summery entree. Sauteing the corn caramelizes it a bit and brings out a lovely sweetness. Combine this with the fragrant pine nuts and some salty Parmesan and it gives the pasta a beautiful golden color. The taste was incredible, allowing the corn to shine without making you feel like you just dumped some kernels on some macaroni and called it a day. I think this dish is very elegant with a lot of subtle simplicity that makes it a wonderful treat after a long, hot summer day. And it also goes to show you - you can make pesto out of pretty much anything. Buon appetito!

Saturday, September 11, 2010

Banana-Walnut Chocolate Chip Cookies

Banana bread is one of my kitchen staples. Give me 2-3 ripe bananas and 1 hour, and I can make you a phenomenal banana bread. But what if you wanted something more hand-held? Something that you did not have to slice. Something that can be divvied up with ease. Sounds to me like banana bread in cookie form.

Banana-Walnut Chocolate Chip Cookies
Adapted from Martha Stewart's Cookies.

Ingredients
1 cup flour
1/2 cup whole wheat flour
1 tsp kosher salt
1/2 tsp baking soda
3/4 cup unsalted butter, softened
1/2 cup sugar
1/2 cup light brown sugar
1 large egg
1.5 tsp vanilla extract
1 large, very ripe banana, mashed
1 cup rolled oats
8 oz semisweet chocolate chips
1/2 cup walnuts, coarsely chopped and toasted

Directions
Preheat oven to 375 degrees. Line baking sheets with parchment or spray with cooking spray. In a medium bowl, whisk together flours, salt and baking soda.

In a large bowl, beat butter and sugars with a mixer on medium speed until pale and fluffy. Reduce speed to low and add egg and vanilla; mix until combined. Mix in banana. Add flour mixture; mix just until combined. Stir in oats, chocolate chips and walnuts.

Drop dough by heaping tablespoons onto prepared baking sheets, keeping cookies about 2 inches apart. Bake until golden brown and just set, 12-13 minutes. Let cool on sheets on wire rack for 5 minutes. Transfer cookies to a wire rack and allow to cool completely.

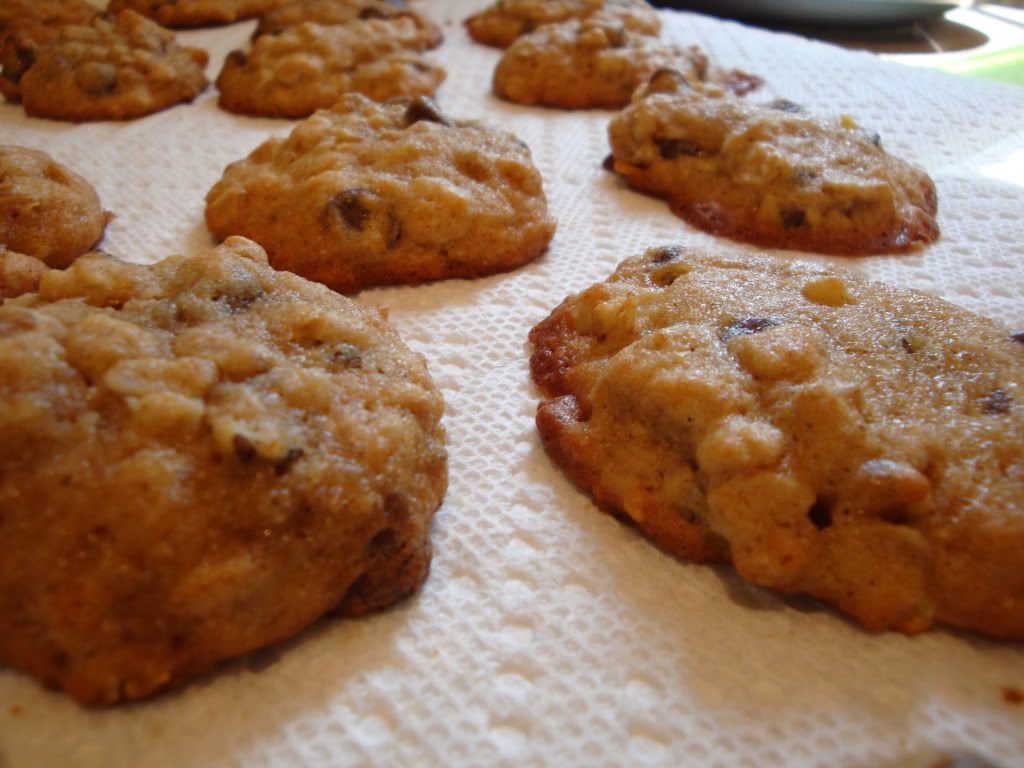
Banana-Walnut Chocolate Chip Cookies

Martha's awesome ingenuity has yielded the perfect taste of banana bread and chocolate chip cookie. These treats really are great by themselves and don't need any sort of toppings or sauces to make them better. If anything, you may want to serve them sandwiched around some vanilla ice cream. You know, just to cut the sweetness.

Chocolate Butterscotch Cake

After making many free-standing cakes this year, I needed a break. If you want to make a tasty, good-looking cake, it can take quite a while. At the very least, you spend a couple hours spread out over a few days. But I wanted to break free of my rut and do something easy but delicious. I was charged with making a cake for a true Southern boy, so who better to turn to than Paula Deen?

Chocolate Butterscotch Cake
From Paula Deen. Yields 12 servings.

Ingredients
3/4 cup softened butter
1.5 cups sugar
2 large eggs
1 tsp vanilla extract
2 cups flour
3/4 cup cocoa powder
1 tsp baking soda
1/4 tsp salt
1.5 cups milk
12.5 oz butterscotch
12 oz whipped topping, thawed
3.5 oz butterscotch pudding mix

Directions
Preheat oven to 350 degrees. Grease and flour a 13x9" baking pan.

In a large bowl, beat butter and sugar on medium speed until creamy. Add eggs, one at a time, beating well after each addition. Beat in vanilla and set aside. In a medium bowl, combine flour, cocoa, baking soda, and salt. Gradually add this to the butter mixture, alternatively with milk, beginning and ending with flour. Spoon into prepared pan.

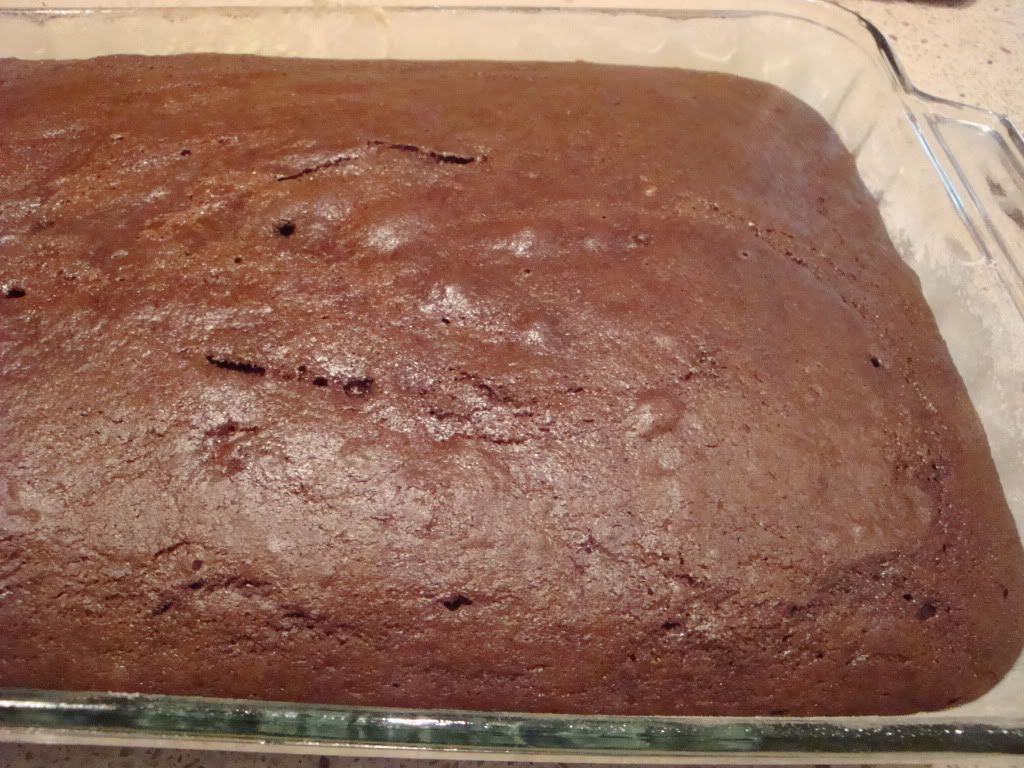
Chocolate Cake Base

Bake the cake for 25 minutes or until a toothpick comes out clean.

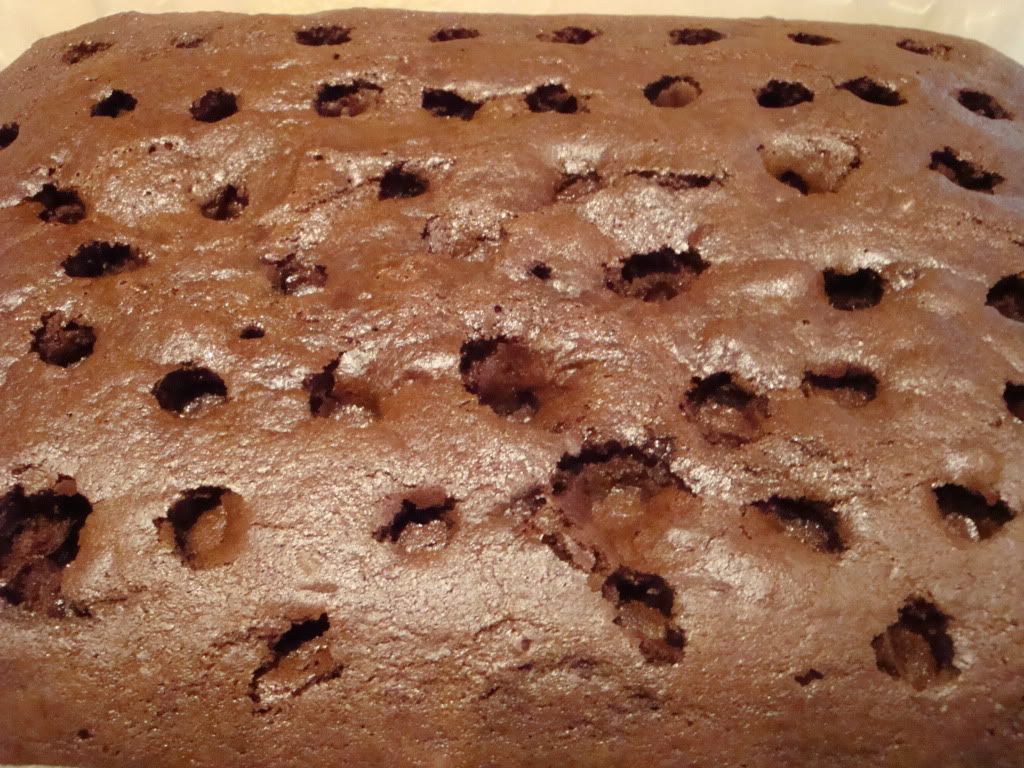
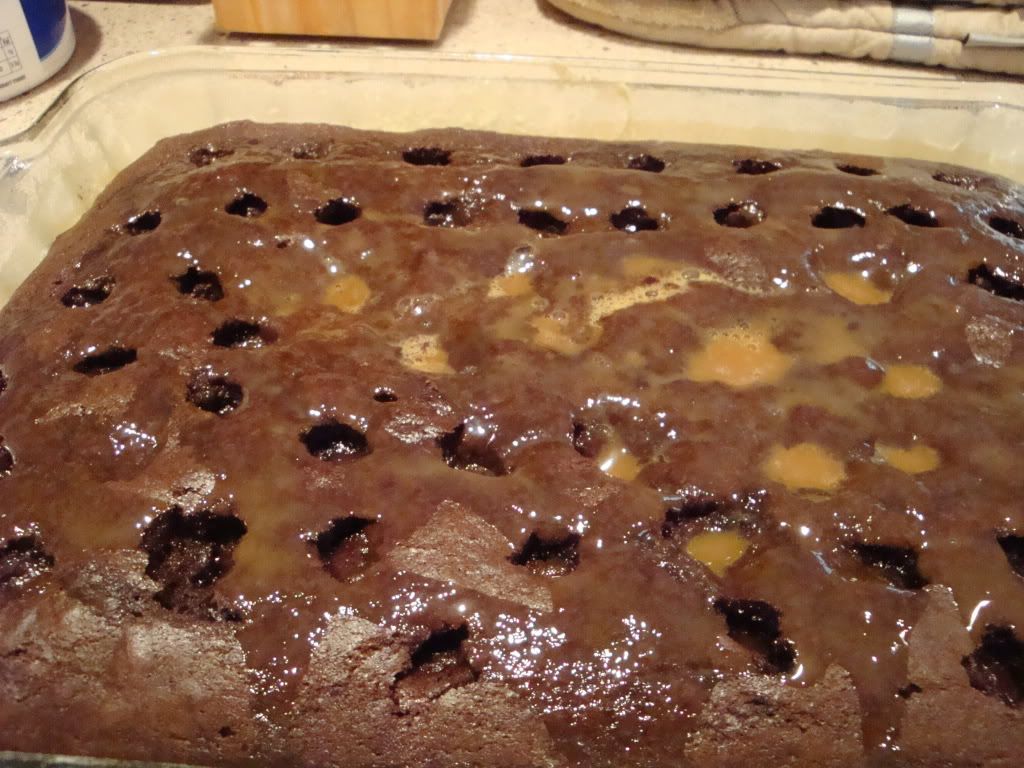
Poked Full o' Holes

While the cake is still warm and using the handle of a wooden spoon, poke holes halfway through the cake at 1/2" intervals.

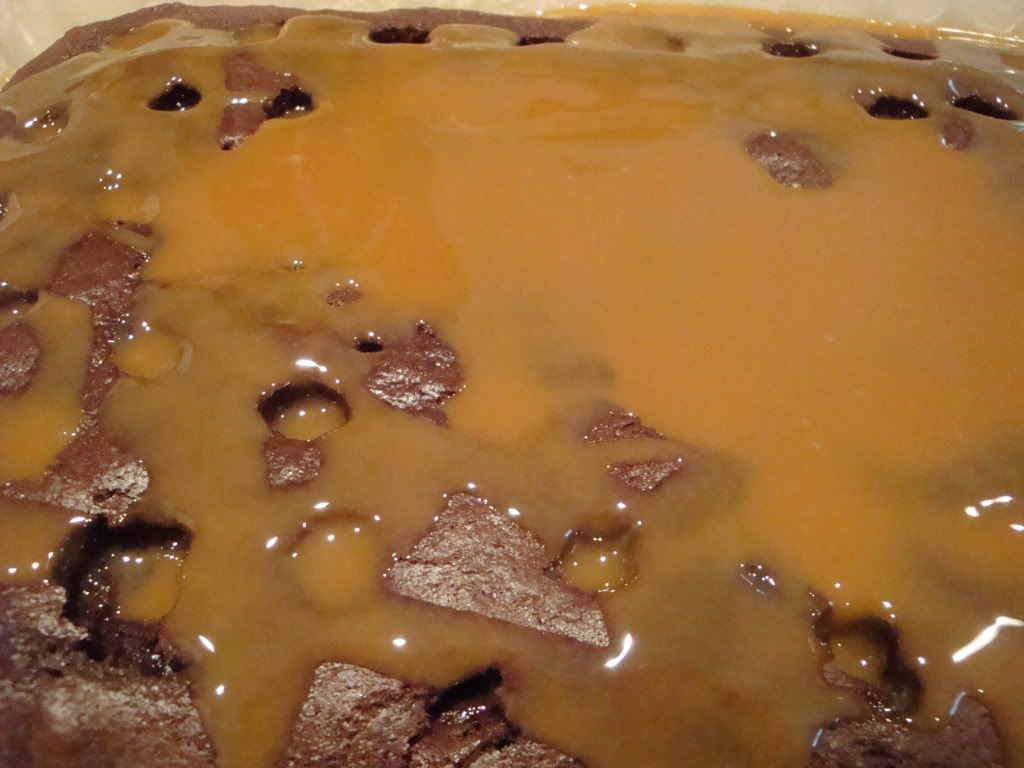
Covered in Butterscotch

Pour butterscotch evenly over the cake and allow to cool completely.

Soaked In

After cake has cooled, combine the whipped topping and pudding mix in a medium bowl. Spread evenly over the cooled cake. Be sure to make this frosting right before you use it and don't worry if it tastes gritty. The pudding will set up in the whipped topping gradually over time. This makes it taste better, but it also makes it more difficult to spread once it has started to set up. Cover the cake and refrigerate it. When ready to serve, cut it into squares. Don't forget an insulin shot as a chaser.

For as simple and saccharine as this cake sounds, everyone loved it. The birthday boy even took home the remainder over the weekend and had to bring my baking pan back to me. The butterscotch keeps the cake lusciously moist and complements the chocolate very well. The additional butterscotch on top with a creamier base is actually a nice relief from the intense flavor and sweetness from the cake. I'm always amazed to see what types of desserts come out of a Southern kitchen. I really shouldn't be surprised that everything is so sweet since any baby south of the Mason-Dixon line is raised on sweet tea instead of formula. And let's face it, no one does a killer, simple dessert like Paula.

Thursday, September 2, 2010

Smith Island Cake

I don't know if you realize this, but people love cake. Cake tastes good by itself, with some frosting, fruit, chocolate, pudding, bacon, whatever. I love cake too. I love to make it for other people. In every flavor, shape and size. My latest creation comes straight out of the pages of Cook's Country Magazine, but it's the pictures that really speak for themselves.

Smith Island Cake
Yellow cake recipe from Epicurious, cake recipe from Cook's Country Magazine; serves 8-10.

Ingredients
Yellow Cake
3 cups cake flour
1 tbsp baking powder
1/2 tsp salt
1 cup unsalted butter, softened
2 cups sugar
5 large eggs
2 tsp vanilla extract
1.25 cups buttermilk

Frosting
10 oz bittersweet chocolate, chopped
1 cup heavy cream
1 cup sugar
1/4 tsp salt
1 tsp vanilla extract
1/2 cup unsalted butter, softened

Directions
Frosting
Place chocolate in large bowl. Heat cream, sugar and salt in a small saucepan over medium-low heat until sugar dissolves and mixture begins to simmer. Pour cream mixture over chocolate and whisk until smooth. Whisk in vanilla and butter until glossy. Cover and refrigerate until firm, but spreadable, about 1 hour.

Yellow Cake
In a medium bowl, sift flour, baking powder and salt. Set aside

Beat 1 cup butter with an electric mixer on medium-high for 3 minutes until light in color. Add the sugar, 1/4 cup at a time, beating 1 minute after each addition. Add eggs, one at at time, beating well between additions. Reduce mixer speed. Stir vanilla into the buttermilk. Add flour mixture and buttermilk mixture alternatively beginning and ending with flour. Mix just until incorporated.

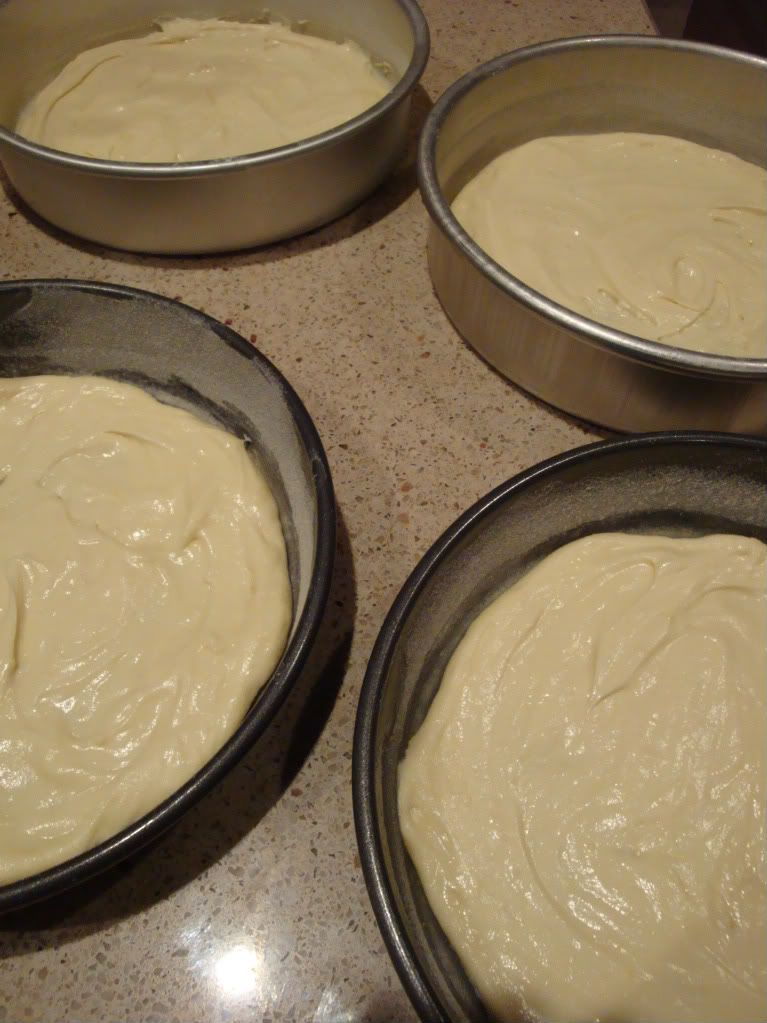
Yellow Cake Batter

Preheat oven to 350 degrees F. Grease and flour two 8" cake pans (or more if you have them), and line them with parchment paper. Spoon about 2/3 cup of yellow cake batter into prepared pans.

Yellow Cakes Before Baking

Spread batter evenly in pan. Bake until edges are golden and cake springs back when touched, 10-14 minutes. Cool pans on rack for 5 minutes. Run a knife around the edge of the pan, then invert cakes onto rack to finish cooling. Cool pan to room temperature, then wipe clean and repeat the process to make a total of eight thin cake layers.

To Assemble

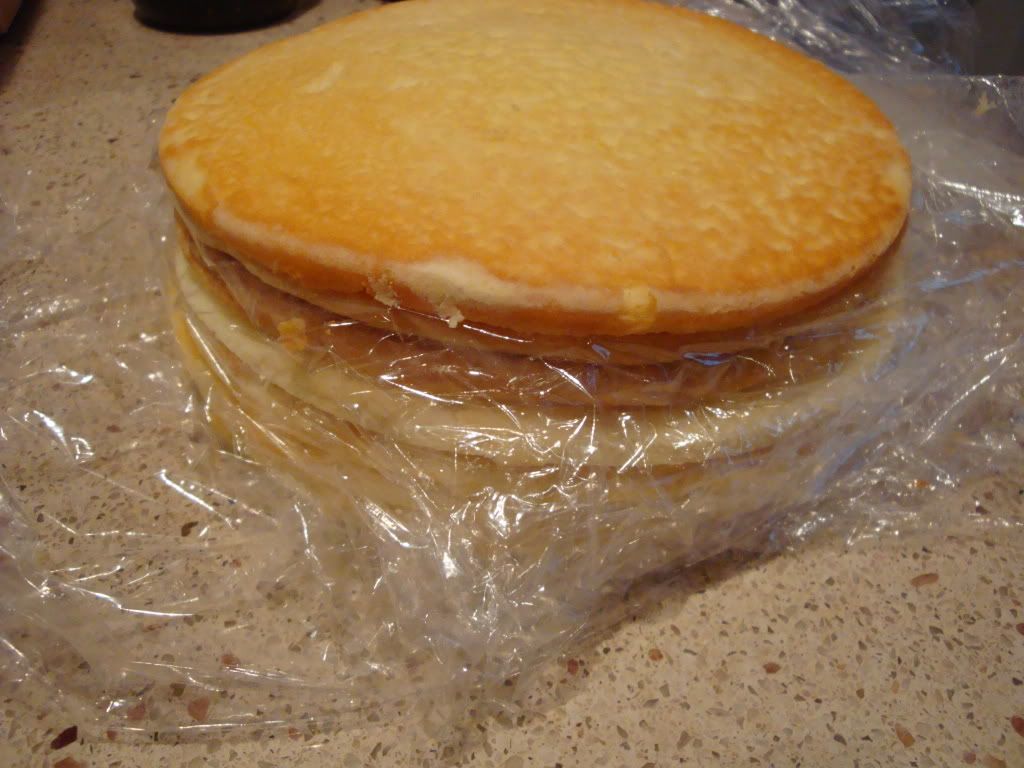
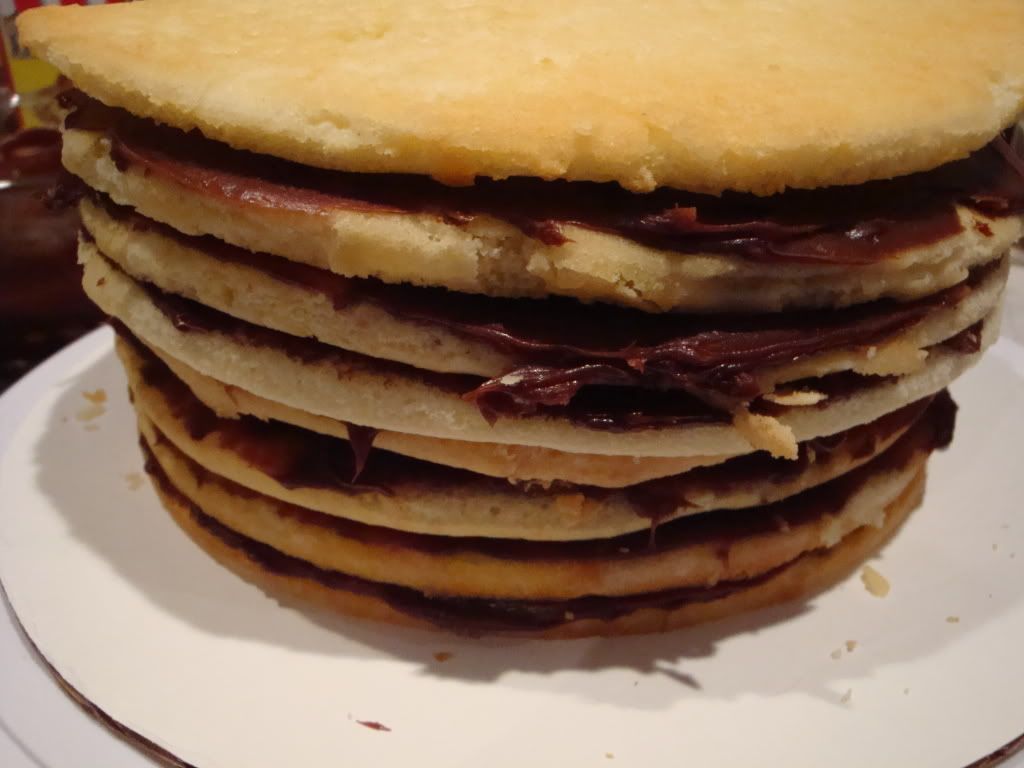
Stack o' Cakes

I froze my cake layers for a couple of days and they did perfectly well. If you do want to make these ahead, be sure they are separated from each other with plastic wrap. Otherwise they may stick together.

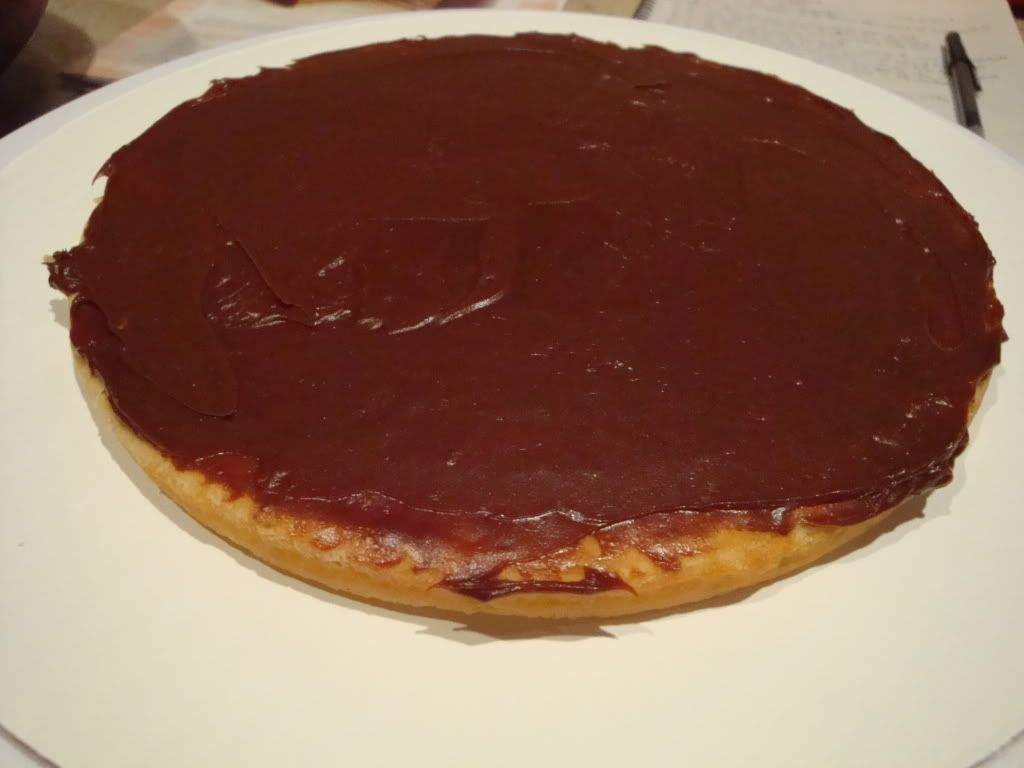
Frosting First Layer

Place one cake layer on a serving platter. Spread 1/4 cup frosting over the cake. Be sure to spread the frosting as evenly as possible, taking it to the edge of the cake.

Layers Stacked

Top this layer with another layer of cake and repeat the process until there are 8 cake layers, all with a thin layer of chocolate frosting between them.

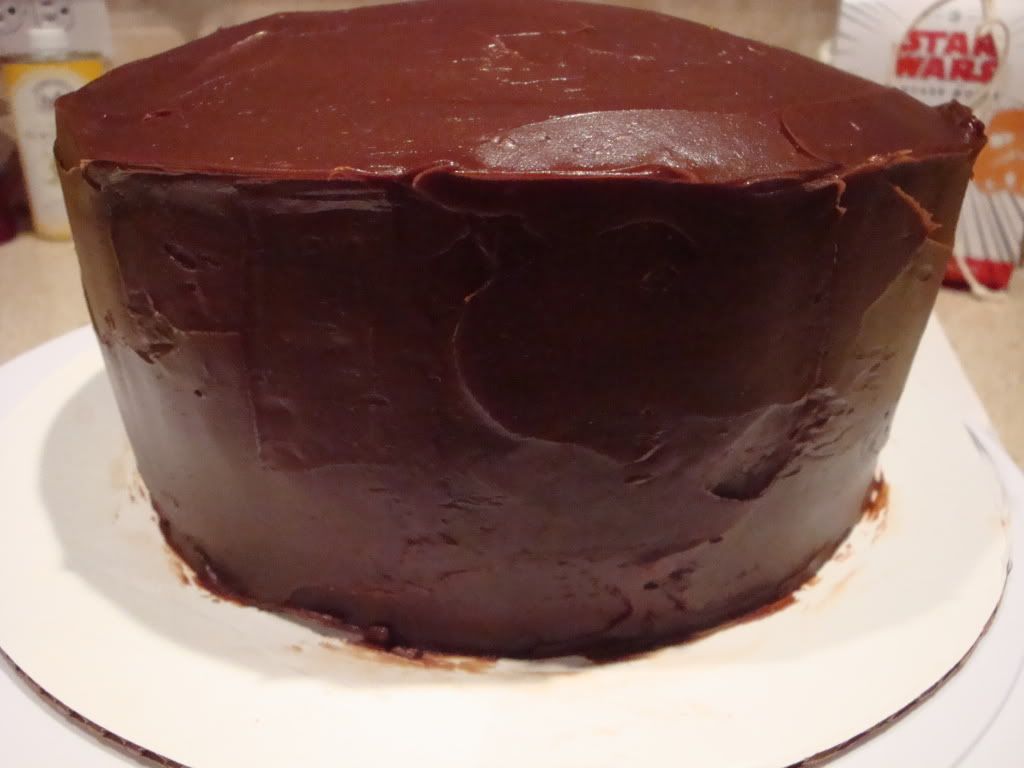
Smith Island Cake

Use the remaining frosting to cover the top and sides of the cake. Serve.

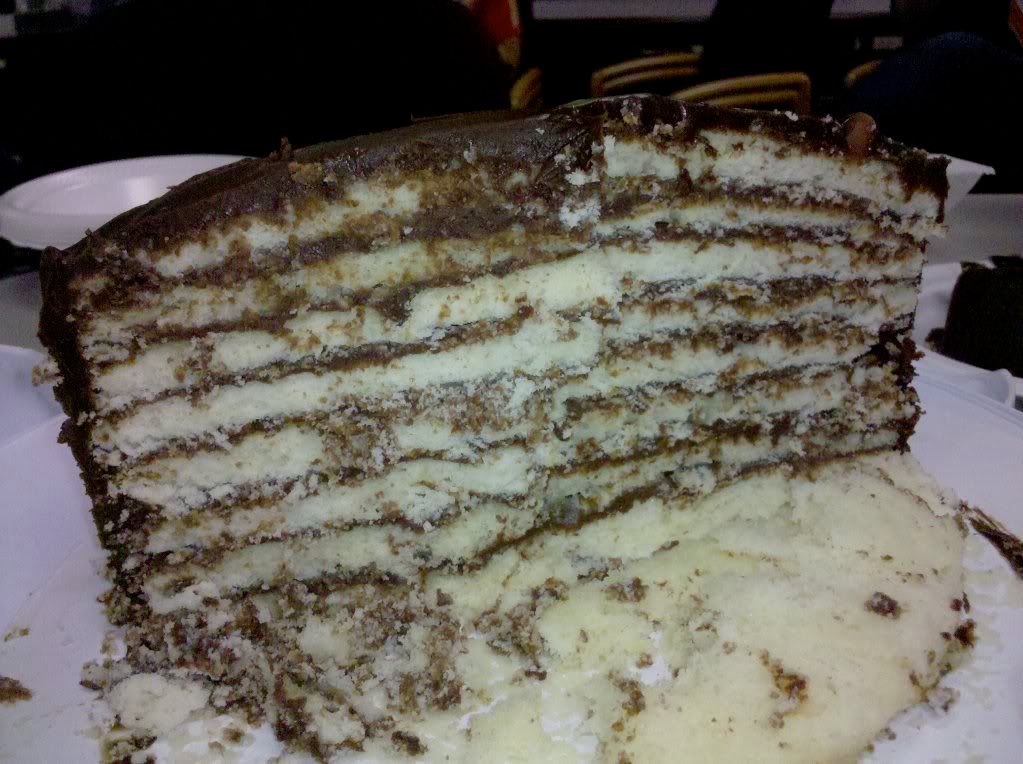
Cake, Sliced Open

The many layers are the real show-stopper with this cake. People marvel at your skill to pull off such an intricate looking cake. Even if your cake is domed on top and does not have the smoothest frosting, you will still wow a crowd.

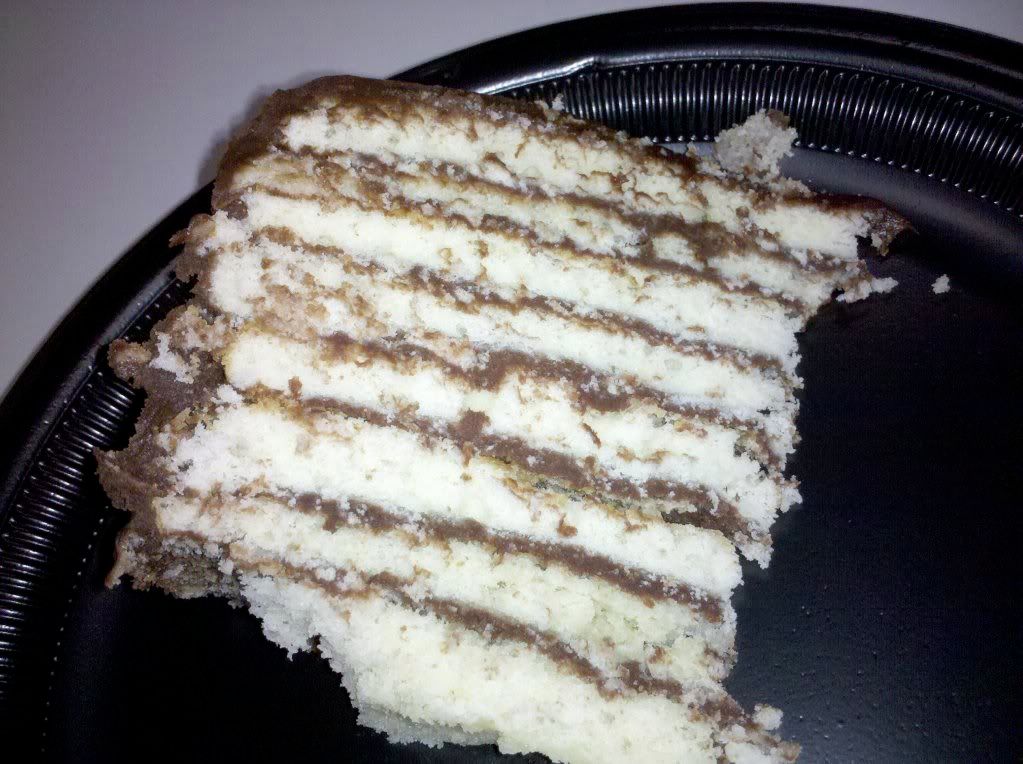
Smith Island Cake Slice

Furthermore, this cake tasted great. With all of those layers of cake and frosting, one would think this would be too sweet, but the layers meld together more to make each bite delicious. People who like to eat the cake and frosting separately may have problems with this cake, but everyone I know that tried it liked it.

Here's some food for thought: there are many examples of cakes that take layering to the extreme. Maybe this is some sort of convergent evolution. The other cakes that come to mind include crepe cakes (20 or so crepes with delicious fillings in between) and doberge cakes (filled with pudding). In fact, according to Wikipedia, it seems that every country has their own name and possible spin on this idea with cakes and pastries. The French mille-feuille ("thousand leaves") layers puff pastry and pastry cream with fancy chocolate stripes on top. Add some almond flavoring and it is a napoleon, named more for the city of Naples than the diminutive French emperor (not Sarkozy). Give it more Italian flair and it is mille foglie, which can have some sponge cake thrown in. From all of these, it seems that more layers means more work, which means greater to detail and a higher-end cake overall. Who knew that Smith Island, Maryland, was so worldly?