Bread can be difficult if you don't know what to expect or what you are looking for. And even then, you may just have to accept the dense, flavorless brick that comes out of the oven. But this recipe promises a rustic-style loaf with a lot less work. Just like how stainless steel is not stain-proof (it stains less), this is not quite a no-knead recipe, but rather a knead-less one.
Knead-less Bread
Yields 1 loaf. Recipe from Cook's Illustrated.
Ingredients
3 cups all-purpose flour
1/4 tsp yeast
1 tsp salt
3/4 cup water, at room temperature
1/2 cup mild beer, at room temperature
1 tbsp white vinegar
Cooking spray
Directions

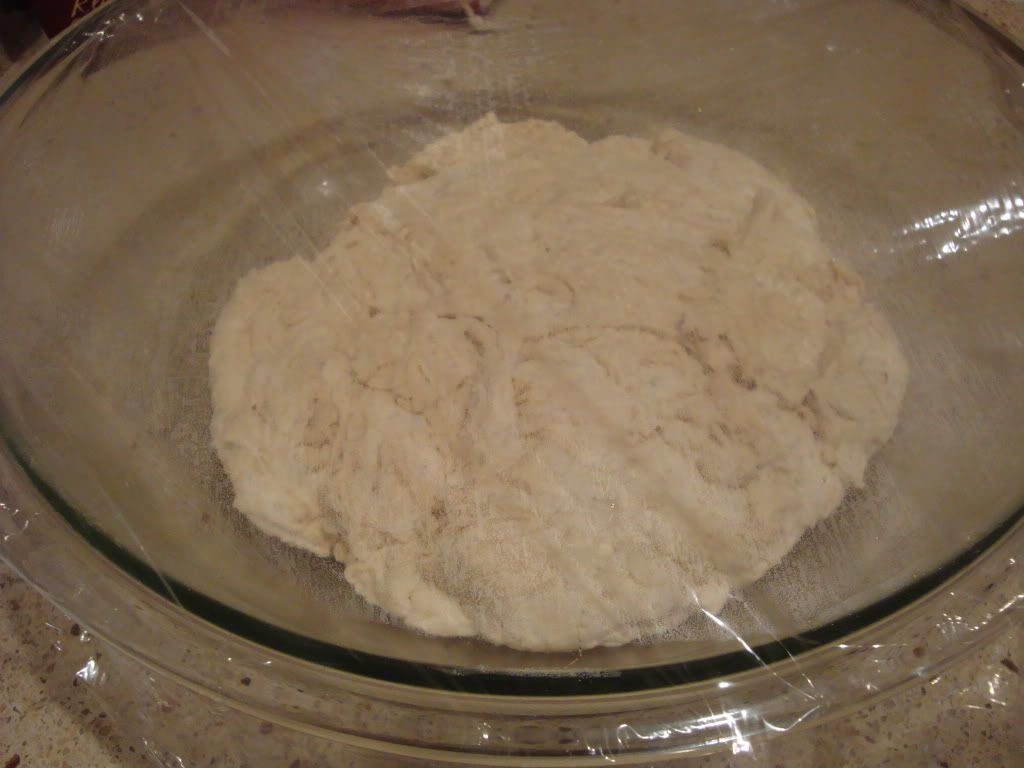
Whisk together the flour, yeast and salt in a large bowl. In a small bowl or mixing cup, mix together water, beer and vinegar. Fold the liquid mixture into the flour mixture until the dough comes together. It will look "shaggy" (you'll know it when you see it). Cover the bowl and let the dough sit at room temperature for at least 8 hours and up to 18 hours (this is something that is easy to set up before you go to bed). In lieu of lots of kneading, this recipe just lets the dough rise for longer, allowing the gluten to develop on its own.

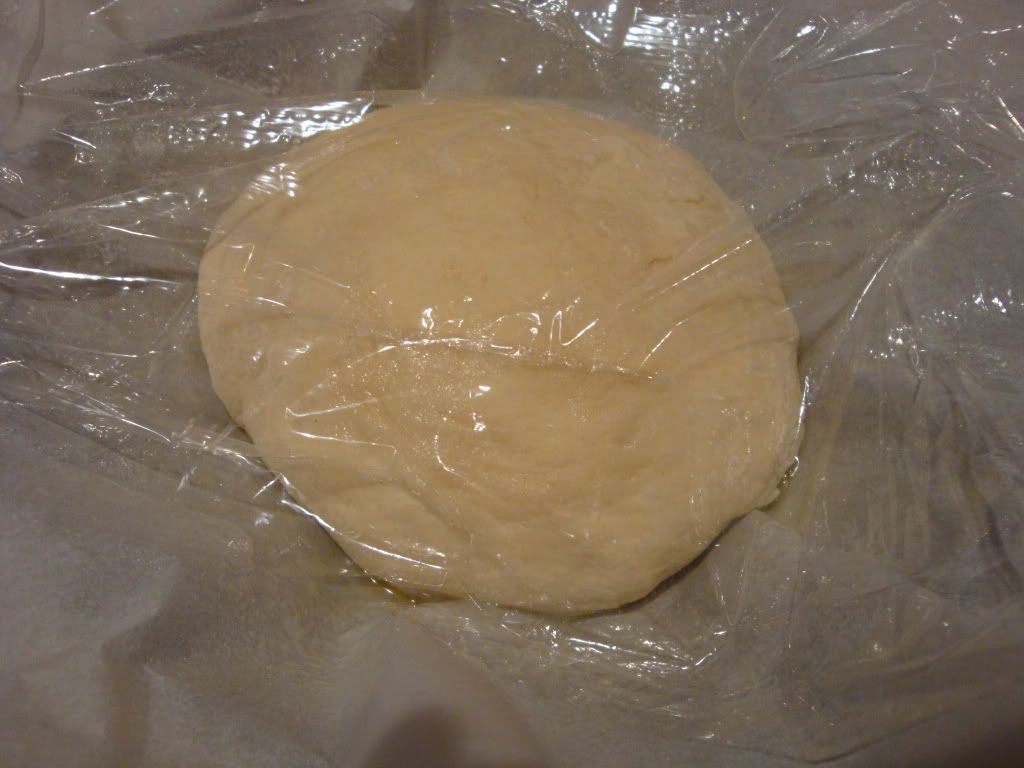
Prepare a 10" skillet (size, in this case, does matter) by lining it with an 18" by 12" sheet of parchment and spraying this with cooking spray. Turn the dough out onto a lightly floured surface and knead by hand 10-15 times until it is a smooth ball. Shape the dough by pulling the edges toward the middle. Transfer the dough, seam-side down, to the prepared skillet. Lightly mist the dough with cooking spray and loosely cover with plastic wrap. Allow to rise at room temperature until it has doubled in size and barely springs back when poked, about 2 hours.
Thirty minutes before you want to start baking, adjust the oven rack to the lowest position (to allow ample room). Place a large Dutch oven with its cover on the rack and preheat everything to 500 degrees F. When I knew I wanted to make this recipe, I kept my eye out for a good quality Dutch oven on sale. Finally, a local kitchen store slashed some of its prices for a summer sale and I knew the universe was telling me that it was bread time.

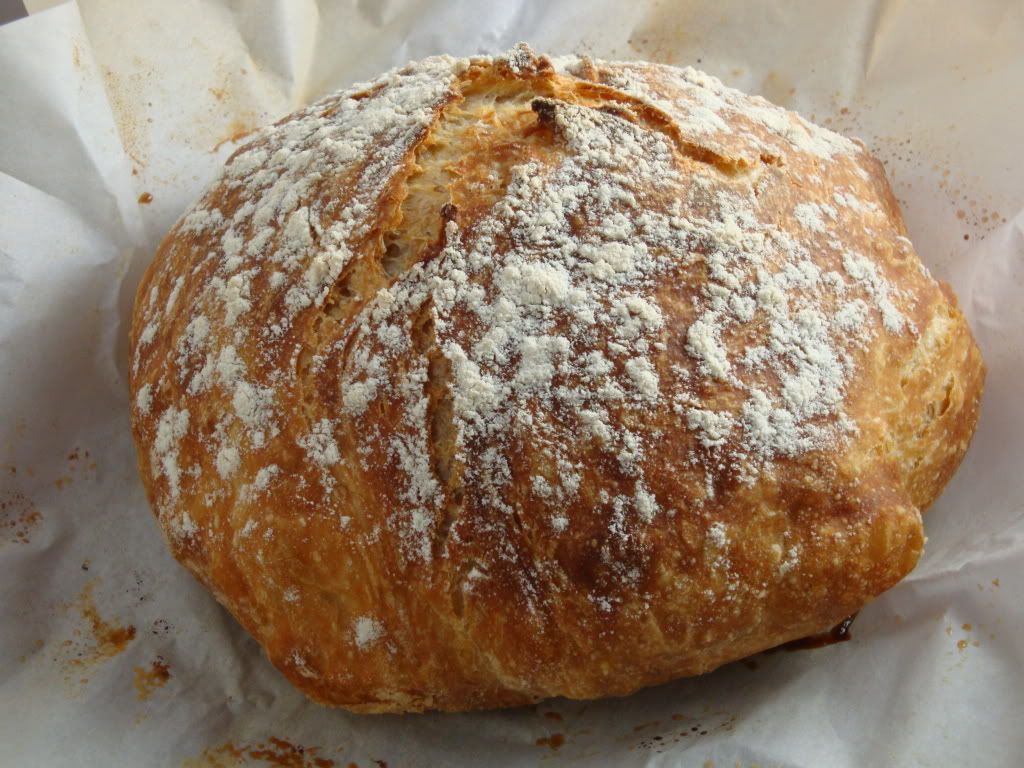
Lightly flour the top of the dough and score it with a sharp knife (to release tension). Carefully remove the Dutch oven from the oven and remove the lid. Pick up the parchment and dough and carefully lower them into the pot. Let any excess parchment stick over the sides. Cover the pot and place it back in the oven. Reduce the temperature of the oven to 425 degrees F and bake, covered, for 30 minutes. This first high temperature baking in a covered pot helps to steam the bread and cook it through before you brown the outside in the next step.

Remove the lid of the Dutch oven and continue baking the bread until the center of the loaf registers 210 degrees F on an instant-read thermometer and the crust is golden, about 20-30 minutes more. Carefully remove the bread from the pot and transfer to a wire rack. Cool completely, about 2 hours.

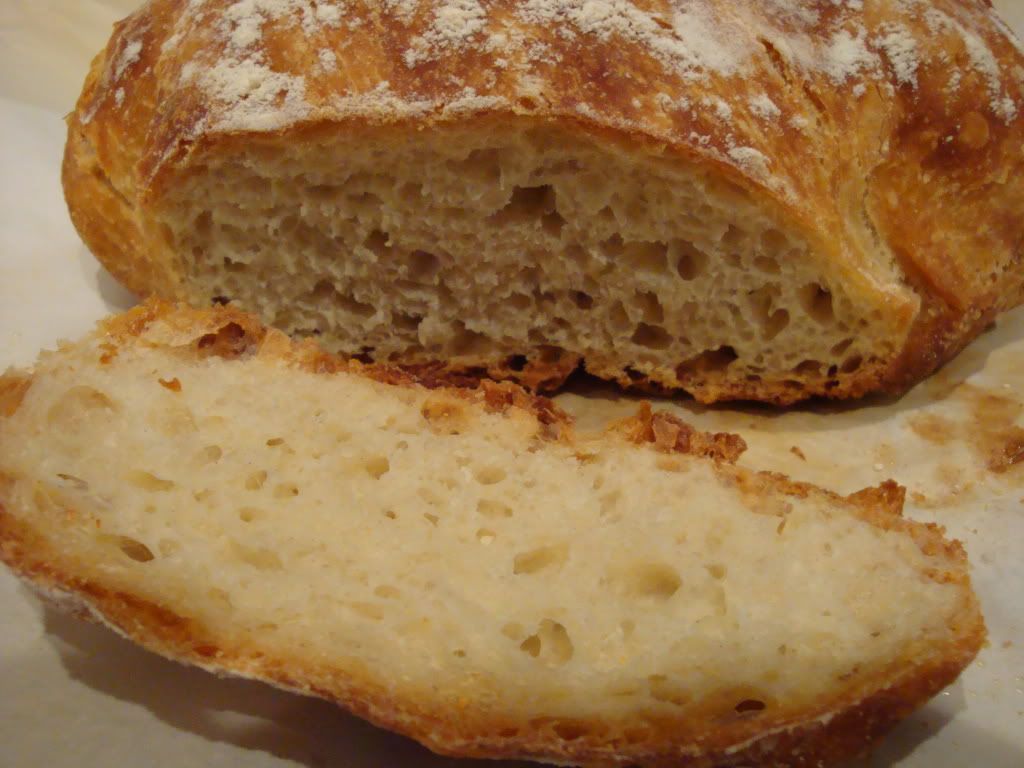
For a total bread newb, this loaf turned out spectacularly. Everything about it was spot on. It was crusty and sturdy on the outside, but the inside was soft, delicate and it tasted bready (knead-less to say, I was happy). I broke out the homemade strawberry from earlier in the summer to celebrate this spectacular achievement. I will admit, the bread did not maintain this beauteous character for more than a couple days before it started to get soft around the edges, but the time we had together was just magical. If, like me, you want to dip your toe into the pool of bread-baking, start with this recipe. Before we know it, we'll be ready for the big plunge into kneaded bread.
No comments:
Post a Comment