Thursday, July 29, 2010

Granola

Granola is a word that can conjure many images. I often think of it as a cereal that requires a lot of work to eat. It can also evoke ideas of "hippies" and "rabbit food." Other people are quite enamored with the cereal mix and make it part of their daily lives. I think granola suffers from a large amount of variability in preparation. Some make it into extra crunchy bars. Others keep it more bland and soft. They can contain nearly any ingredient, from antioxidant-filled dried blueberries to less-than-healthy chocolate chips and candies. The only solutions are to either keep trying bag after bag until you find the one you like or craft your own to your personal preferences. Here is how, in under an hour, you can make your own tasty granola.

Granola
Yields 5 cups. Adapted from Bon Appetit magazine.

Ingredients
3 cups old-fashioned oats
1 cup coarsely chopped pecans
1/2 cup unsweetened coconut
3 tbsp brown sugar
3/4 tsp ground cinnamon
1/2 tsp ground ginger
1/4 tsp salt
1/3 cup honey
2 tbsp vegetable oil
1/2 cup dried cherries
1/2 cup dried strawberries
1/4 cup chopped dates

Directions
Preheat oven to 300F. Line a rimmed baking sheet with parchment paper.
Mix together the first seven ingredients.

Granola, Step 1

Mix honey and oil in a saucepan and cook over medium-low heat until smooth, about 3 minutes. Pour this mixture over the oat mixture and toss to coat evenly. Spread this on the prepared baking sheet. Bake for about 40 minutes until golden brown, stirring every 10 minutes. You can remove the pan from the oven earlier if you want your granola softer or leave it in longer if you want it more crunchy.
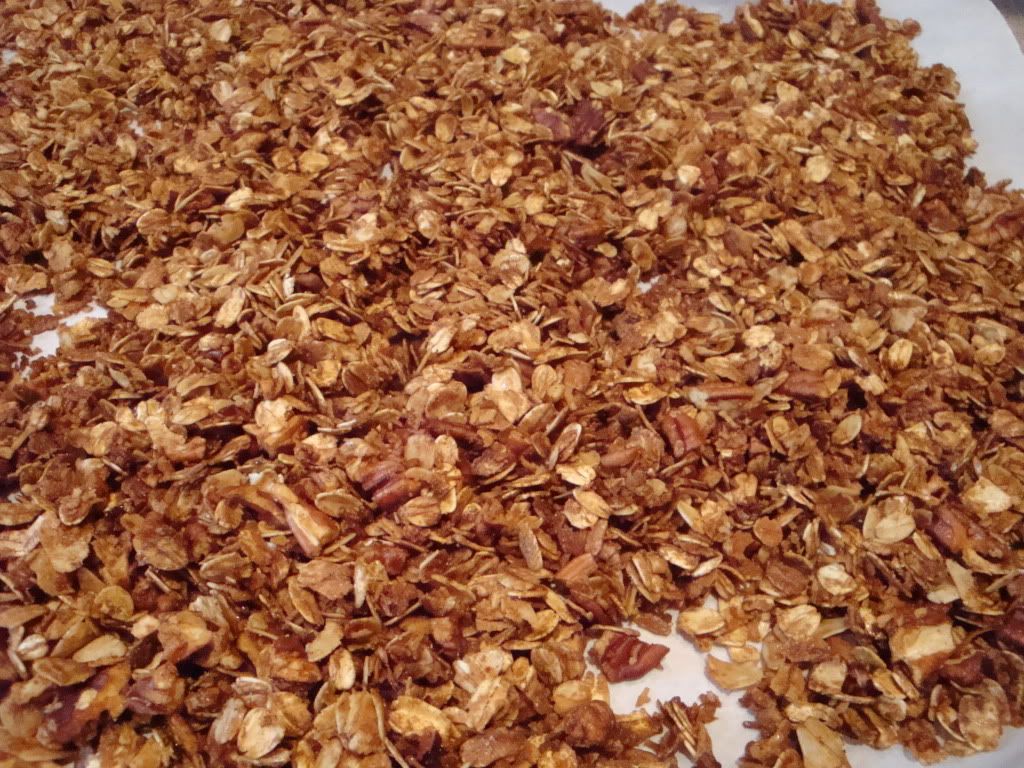
Granola, Fresh from the Oven

Allow the granola to cool completely. Stir it occasionally as it cools to ensure that clumps don't form (unless you like large clumps, then let it cool undisturbed). Stir in the dried fruit and enjoy.
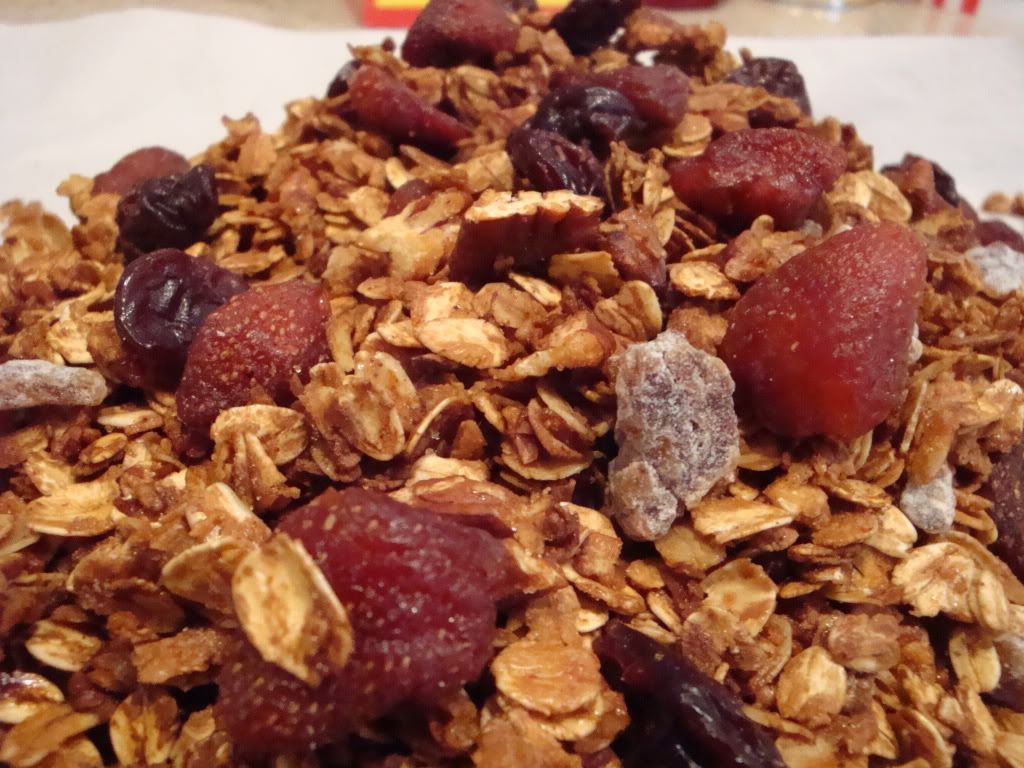
Strawberry-Cherry Granola

The versatility of this recipe makes it hard not to like it. I got to put one of my favorite fruits (strawberries, in dried form) into this batch, but I could easily see many other ingredients in the mix. Nearly any nut would be great, as would pumpkin seeds, sunflower seeds, other cereals, any dried fruits, and, if your sweet tooth is acting up, various candies. I enjoyed this granola immensely, probably moreso than any other version I've tried. Part of it is, undoubtedly, that I made it with my own two hands and I knew that there were no strange chemical additives. The other part is that I tailored it to my tastes. This version was more simple, but has been great as a snack or for breakfast with milk. I will definitely make other versions of this granola in the future and it may become a delightful staple in my diet.
Saturday, July 17, 2010

Coffee-Rubbed Cheeseburgers

I'm not sure I understand why, but during the heat of summer people love to fire up their grills. I think grilling is something that would work better in spring or fall when the weather is more fair. But there is something freeing and relaxing about cooking outside after life has slowed down for summer. And there's nothing that is better suited for the grill than burgers.

There are a near infinite number of ideas and flavors and permutations thereof when it comes to burgers. They can be big or small; beef, pork, turkey, veggie, or a combination; have cheese or not; bacon or not; lettuce, tomato, onion, or other toppings; mayo, mustard, ketchup, guacamole, chimichurri, tzatziki, satay, or any other sauce. From this myriad of flavors, I decided to go a smokey, earthy route using this recipe from Bon Appetit Magazine.

Barbecue sauce is very easy to make. In 20 minutes, you can have your own sauce fit to your tastes and needs. No more putting up with gritty, overtly sweet mixtures from the supermarket.

Texas Barbecue Sauce
Makes about 1.5 cups

Ingredients
1 tbsp butter
1 clove garlic, minced
1 cup ketchup
1/3 cup brown sugar
1/3 cup Worcestershire sauce
1/4 cup lemon juice
1 chipotle, minced (from a can in adobo sauce)
1/4 tsp cayenne

Directions
Melt the butter in a saucepan over medium heat. Stir in garlic, cooking until it is fragrant, about 30 seconds. Stir in the remaining ingredients. Bring to a boil, then reduce to a simmer over medium-low heat. Reduce sauce until it is about 1.5 cups, stirring occasionally, about 15 minutes. Season with salt and pepper to taste. If not using right away, put in a storage container and chill in the fridge.

Coffee-Rubbed Cheeseburgers
Makes 8 servings

Ingredients
Coffee Rub
1 tbsp ground coffee (not flavored)
2 tsp brown sugar
2 tsp ground black pepper
1/2 tsp ground coriander
1/2 tsp oregano
1/2 tsp salt

Burgers
8 bacon slices
1 lb ground chuck
1 lb ground sirloin
8 slices smoked provolone
8 hamburger buns
8 slices of red onion
8 slices of tomato

Directions
For the coffee rub, mix all the ingredients in a small bowl. Set aside.

Cook bacon in a large skillet until crisp. Drain on paper towels and break in half. Set aside.

Mix ground meats in a large bowl. Form into 8 patties about 4 inches in diameter and 1/2 inch thick. Making an indentation (dimple) in the burger so that it cooks evenly.

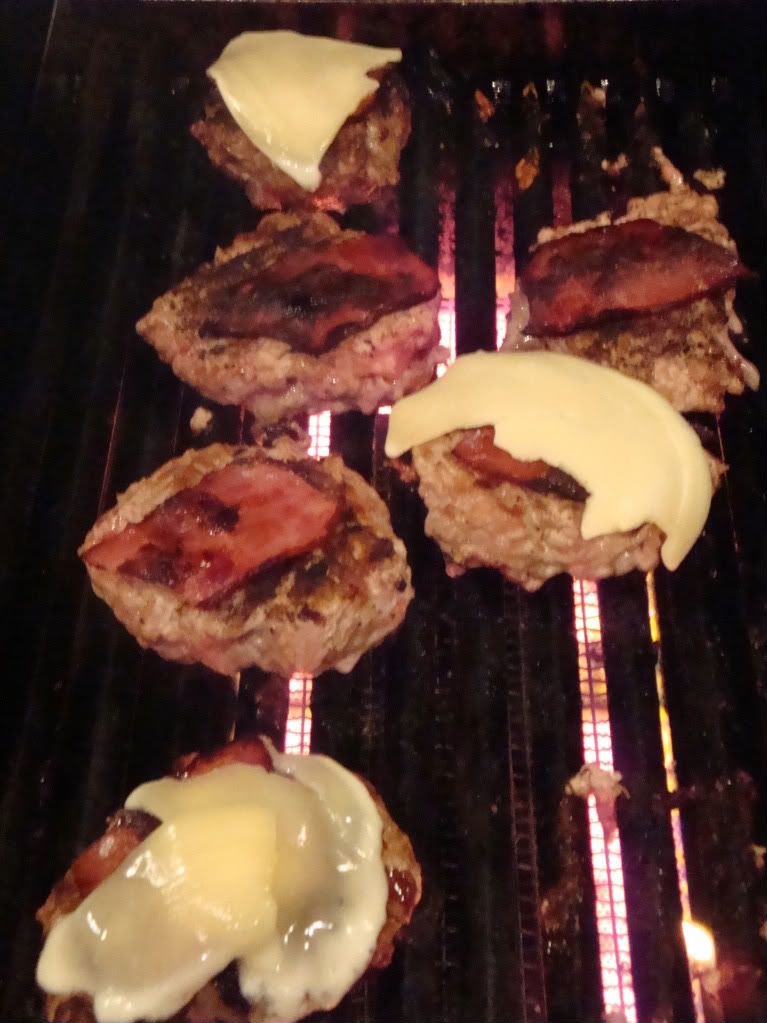
Grillin' Burgers

Prepare barbecue with medium-high heat. Press in about 1 tsp of the coffee rub onto both sides of the burger, then place onto grill. Cook until desired doneness, flipping halfway through. Top each burger with 2 slices of bacon and 1 slice of provolone, cooking until the cheese melts. Place burgers on buns and top with onion, tomato and some barbecue sauce. Cover with top buns and serve with additional barbecue sauce on the side.

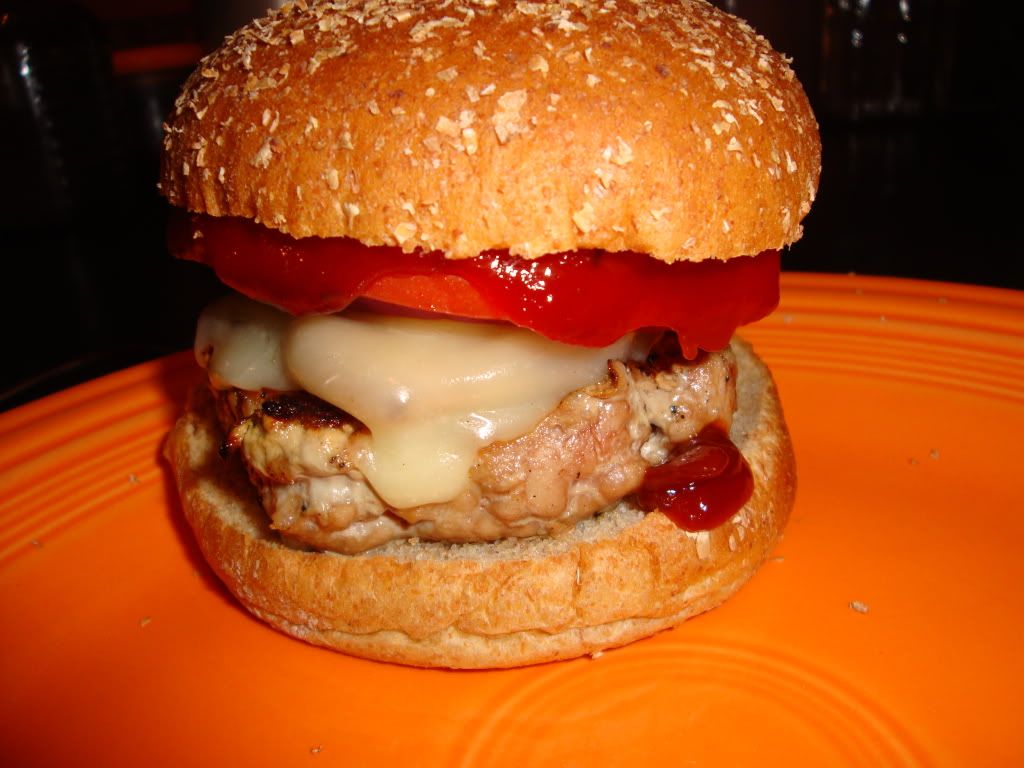
Coffee-Rubbed Cheeseburgers

These burgers were quite amazing. When each portion of a dish is well-seasoned, then you end up with something simply sublime. Everything exuded a smokiness, from the coffee in the rub to the bacon to the cheese to the sauce to the grill-marks. The coffee deepened the flavor of the burger and accentuated the barbecue sauce. These were everything burgers should be. Bold flavors, hearty and messy. I was most intrigued to cook with coffee, but it really is just a minor part of a wonderful burger creation.

Lime-Pistachio Angel Food Cake

For years, I said I would never make an angel food cake from scratch. I swore up and down that it was so much easier to buy a box mix. I prefer to make most cakes from scratch, but boxed angel food cake is so convenient. However, every once in a while, you get that urge to go back to basics.

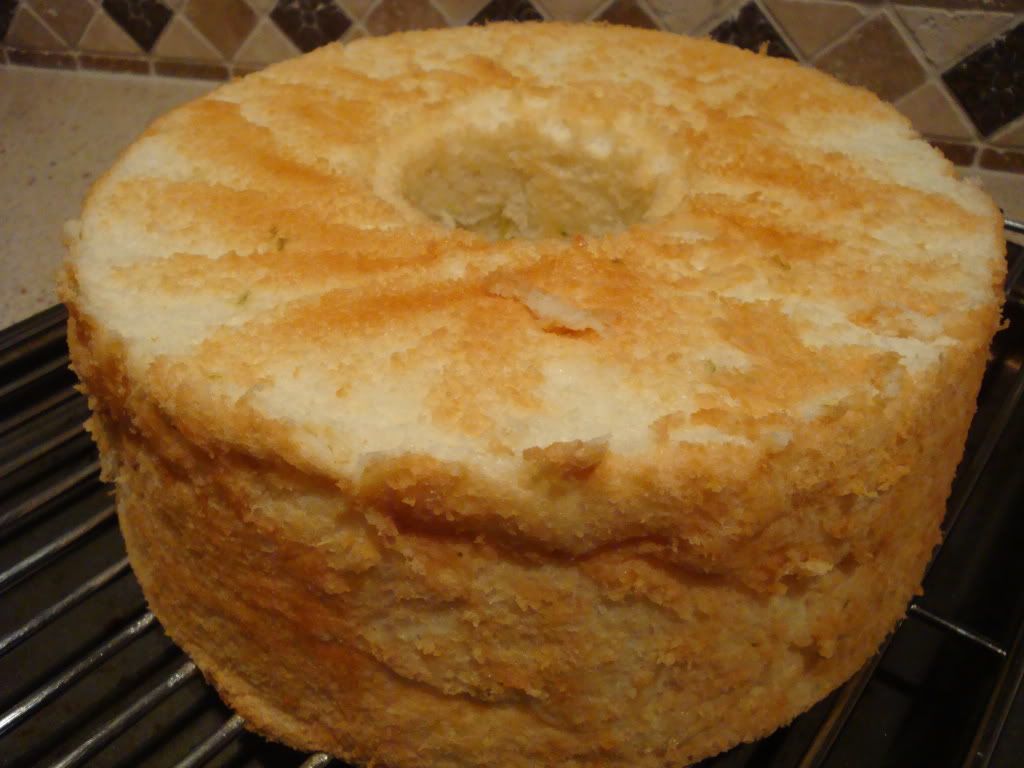
Bon Appetit Magazine had a great recipe for a lime angel food cake covered with crushed pistachios. It is very lengthy and detailed, so follow the link for the full recipe. I will simply outline the overall steps. Firstly, you have to use very fine ingredients. You want the cake to be as light as possible with a moist, soft texture. To that end, you combine four-times-sifted cake flour, superfine sugar and whipped egg whites with a little vanilla and lime zest. Be careful when mixing these ingredients. Their delicate nature means that things could easily go awry. Carefully fold the dry ingredients into the whipped egg whites so they don't lose their air or volume. Simultaneously, you have to make sure the dry ingredients are thoroughly mixed in. I undermixed at this stage, so my cake ended up with the occasional pocket that was less cakey and more sticky and chewy. It was not a terrible problem, but it definitely detracted a bit from the overall experience.

Lime Angel Food Cake

Next is the easy part - baking the cake. Then you allow it to cool completely. Be sure to a) use an angel food cake pan with a removable insert, and b) invert the pan after cooking. If the cake is not inverted, it will collapse because it does not have enough structure. Also take care if you put the cake atop a bottle to cool because it will be very top heavy.

Lime-Pistachio Angel Food Cake

You could probably stop here if you really wanted. The cake would be delicious by itself or with some fresh fruit or whipped cream. But to go the extra mile (since you've already worked so hard to sift, beat and otherwise coax your ingredients to form a beautiful cake), you make a lime simple syrup to act as the glue to hold the crushed pistachios all over the cakes surface. Lastly, you drizzle a lime glaze over it all.

It is definitely true that making an angel food cake from scratch is a bit of an ordeal compared to a white or chocolate cake. You have to spend more time and take more care to ensure that everything turns out just right. But in the end, you get to control what goes into the cake. You get to flavor the batter. Plus, you avoid all of the additives put into cake mixes. I think this cake turns out a lot lighter and airier in texture compared to the boxed mixes. It feels like you are eating a cloud. The lime flavors that permeate the cake as well as in the glaze add a fresh fruitiness. The pistachio flavor is more diffuse and the small nut bits add a little crunch to the outside. Overall, I'd say this cake was a heavenly success.

Salty Potatoes

Boil the potatoes. It's a very easy step, common to many recipes. Mashed potatoes, home fries, gnocchi. They all can involve boiling. But what if you just boil the potatoes? That's it. No other preparation involved. Sounds pretty bland and boring, right? Sounds like a Depression-era meal like lettuce soup. Believe it or not, you can make a delicious side dish or even an appetizer by simply boiling potatoes.

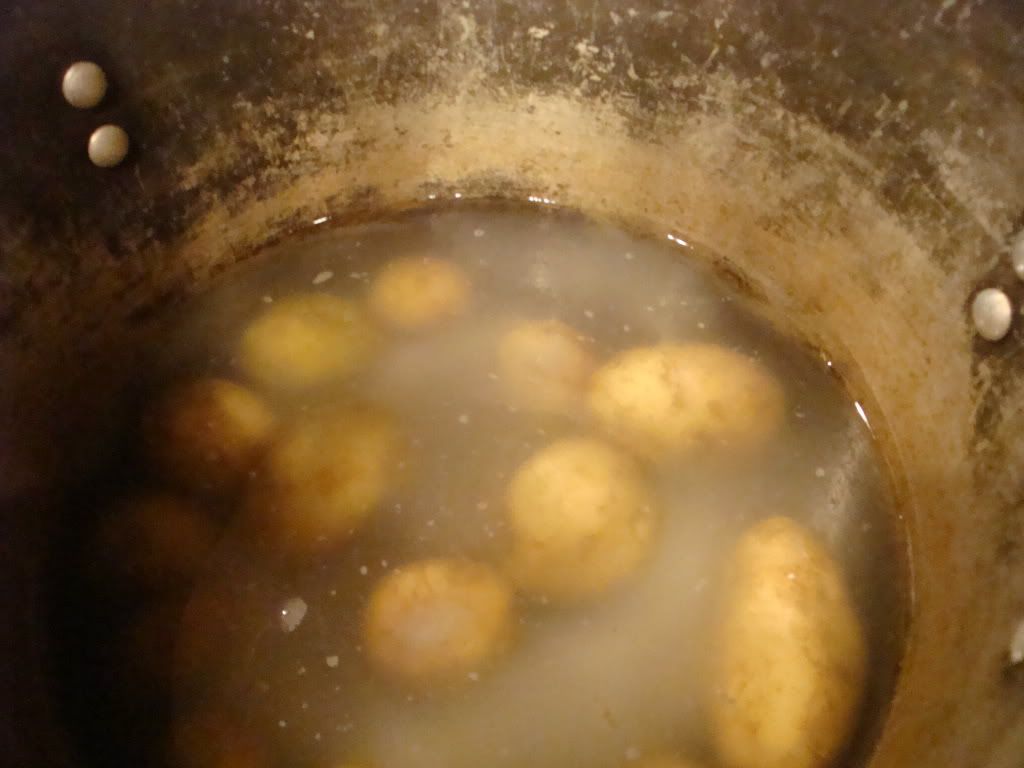
Potatoes in Saline

The preparation for this dish is so simple, I won't even bother typing it into proper recipe format. Start with some potatoes (obviously). I used Yukon Golds because I feel they have a sweeter, more interesting taste than some of the other varieties. You can use as many or as few as you want, though smaller potatoes work better for this than the larger ones. I ended up with about 4 pounds worth of different sizes. Put the potatoes in a large, heavy pot (the wider the bottom the better). Fill the pot with water to just cover the potatoes. Place the pot on the stove. To this, pour in enough salt so that the water starts to look murky (between 1 and 2.5 cups). Bring the salt water to a boil and cook the potatoes until they are tender. You can remove smaller potatoes ahead of larger ones if they finish cooking first. Drain the potatoes in a colander.

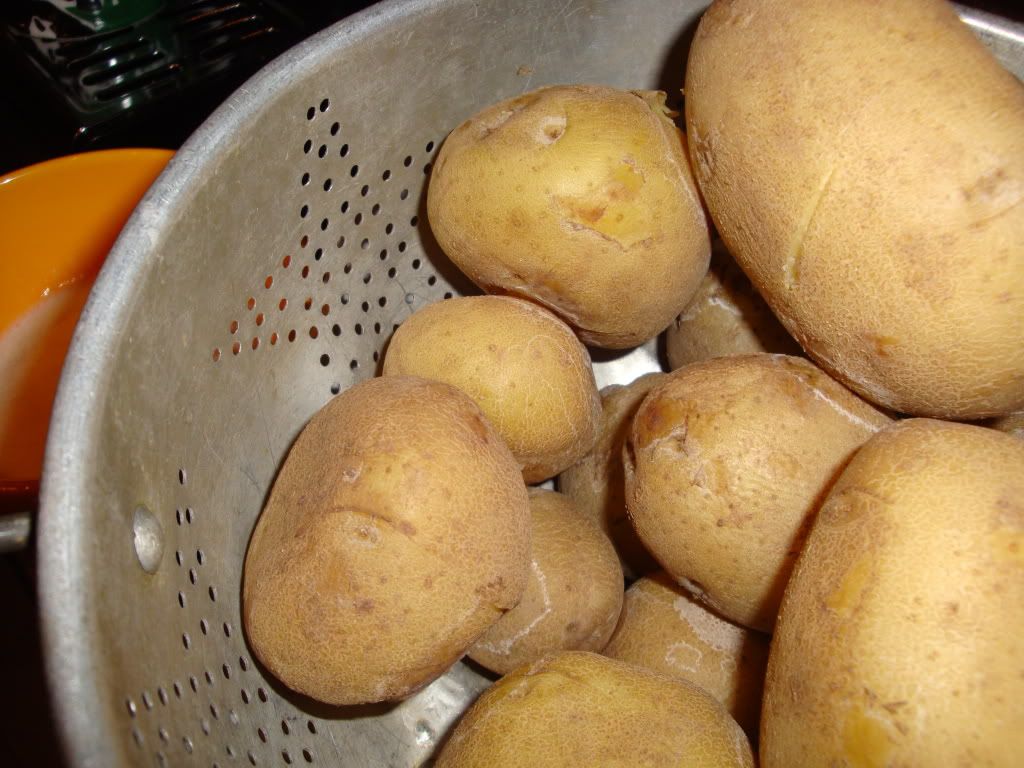
Salty Potatoes

As the potatoes dry, some of the salt from the water crystallizes on the outside, giving them a very thin, dusty-looking crust. Melt some butter in a saucepan or in the microwave as a sauce for dipping and you are good to go. It is easy to eat thees potatoes as a side, but you could easily serve them as a finger food at a barbecue or tapas party.

This simple preparation allows the potatoes to stand as the feature. Very often, potatoes act as a medium for other flavors like sour cream and chives, garlic, and spices. Allowing the salt to form a second skin on the outside of these tubers prevents them from being bland. Then you can taste the subtle potato flavors. You can easily dress this up a bit more by changing out the dipping sauce, perhaps by adding smoked paprika to the butter or using a buttermilk-ranch dressing, pesto, or homemade ketchup. But don't try to overwhelm these humble spuds. They do a lot of work for us on a daily basis, so let them have their time to shine.

Sunday, July 11, 2010

Mithai

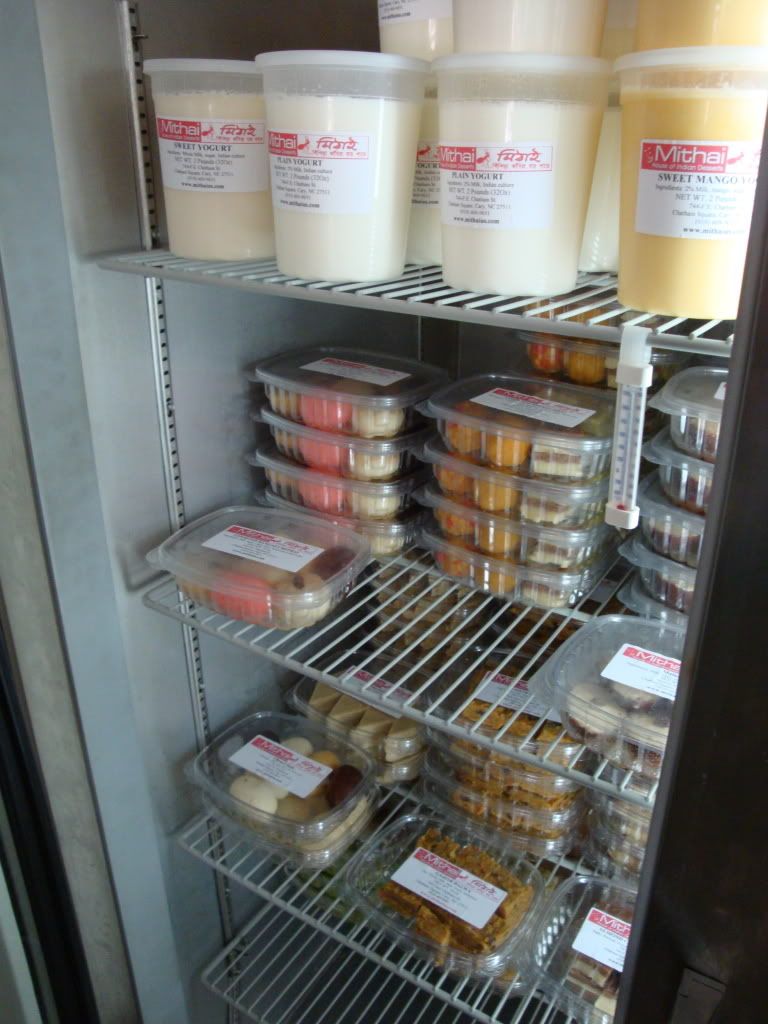
I love an adventure, especially one for the feet and for the tongue. I was recently taken on a small road trip over to a Little India section of Cary, NC. After a delectable lunch of curried eggs (hard-boiled eggs served in a spicy red curry), we went to the store that was the purpose of our pilgrimage. The Mithai House of Indian Desserts is named after the word for all of the lovely little finger food desserts they serve.

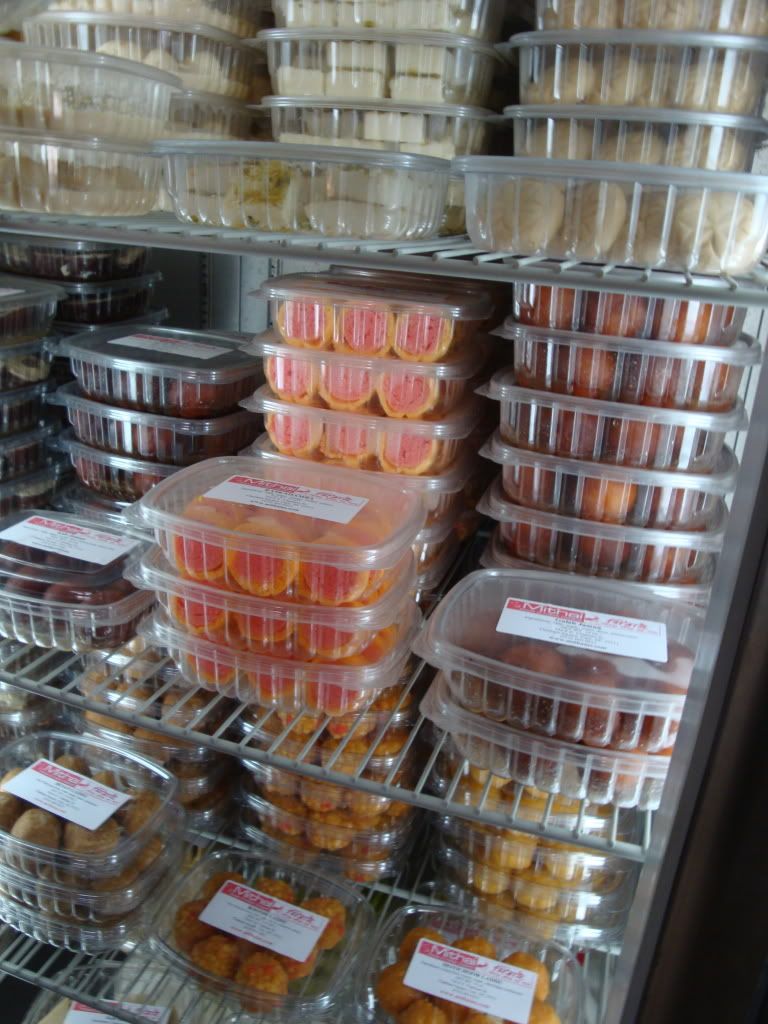
Mithai's Refrigerator 1 Mithai's Refrigerator 2

The store has a simple interior, with a couple tables, a sales counter and a three-door refrigerator filled with sugary delights of every shape, size and color. They also offer sweetened and flavored yogurts as well as some other more savory foods if your tongue needs a break. Most of their food comes in plastic containers, ready to follow you wherever you go. I wanted to try everything, but had to settle for a few choices that I made nearly at random.

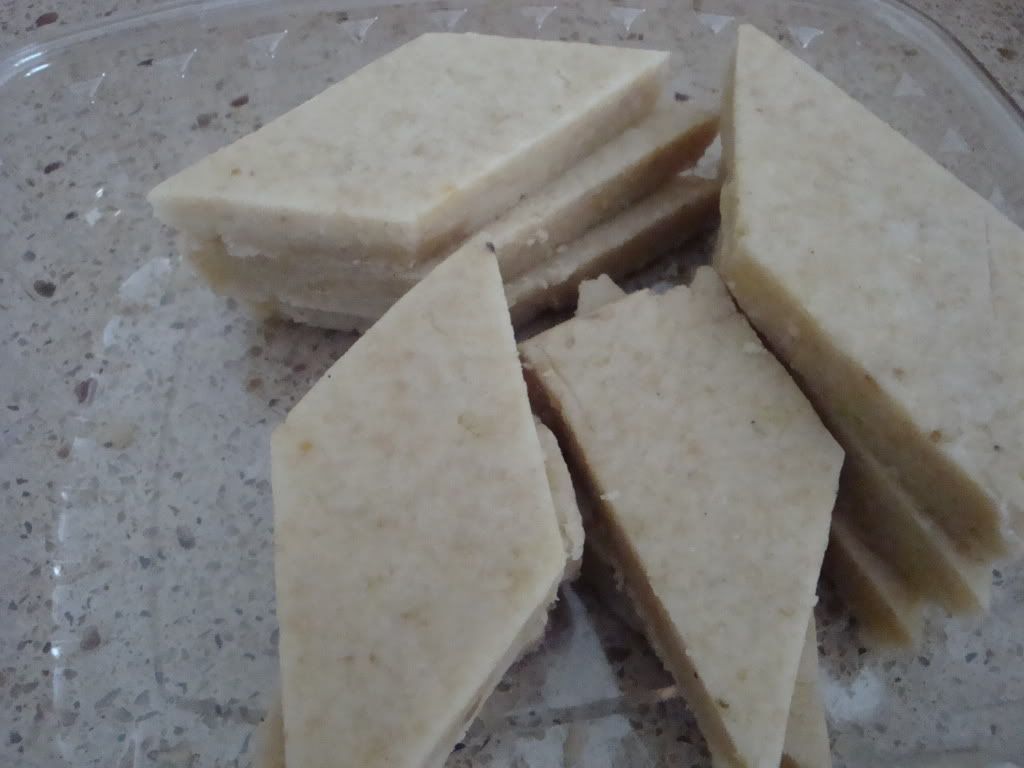
Kuju Katri

Literally only containing two ingredients (cashews and sugar), these trapezoids are called kuju katri and are dense, with a strong sweetness and a weak nuttiness. The inside is a bit mealy. They are good and different than any dessert I know of (the same is true for all three), but I'd be amazed if you could handle the sweetness of more than one of these in one sitting.

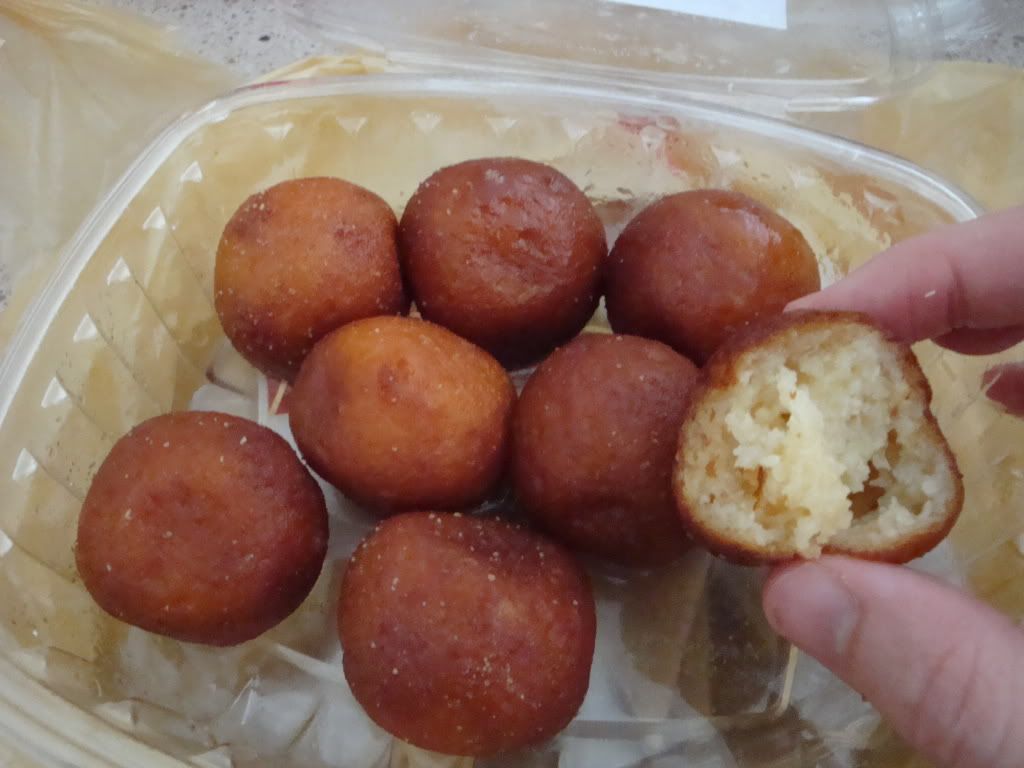
Gulab Jamun

Gulab jamun are fried milk balls that are then soaked in a sweet syrup. The syrup saturates this confection, but in a nice way. They are a little soggy, but retain their spheroid shape perfectly well. In some ways, I feel this dessert and the previous one were so packed full of sugar that you condense all the sugar your sweet tooth can handle in a small dessert. Many other desserts make you want more and more until you feel sick, but I could see eating just one of these confections after a meal and feeling satisfied.

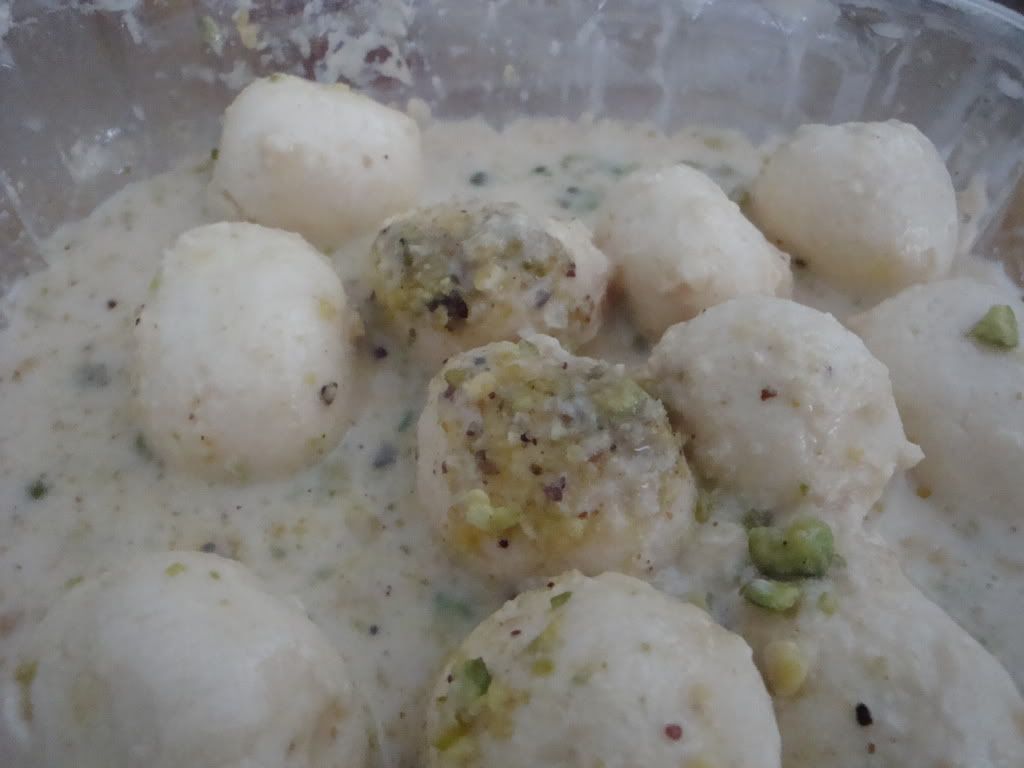
Rasmalai

Lastly, rasmalai are a bit different from the other two. Instead of being super-sweet, this dessert is almost under-sweetened. They are milk-based with a texture that is a bit more gritty/cheesy than I was expecting. They are soaking in a lightly sweetened milk and sprinkled with pistachios. These bites were also good and would make a satisfying finish for a spicy Indian meal.

I really like to see how other cultures deal with their food, especially desserts. I will likely return to Mithai to try more of their desserts since they have so many to offer.

Cobb Salad

I've been a bit lazy about making my own lunch as of late. Some weeks you just don't feel like planning what you want to make for every meal, so then you end up at the cafeteria every day. I tried to make healthy choices there, but you know that even if you get soup or even the salad bar, you end up with sub-par ingredients and extra, unforeseen calories. So I finally took action and took back my lunch.

Earlier this year, Saveur Magazine did a story on the origin of Cobb salad. They showed their recipe for the quintessential Cobb. For me, it involved a few too many ingredients for my state of mind, so I slimmed it down both in steps as well as in calories.

Cobb Salad
Makes 4 servings (or, in my case, 5 lunches)

Ingredients
Dressing
1/4 cup canola oil
1/4 cup olive oil
1/4 cup red wine vinegar
1 tbsp lemon juice
3/4 tsp dry mustard
1/2 tsp Worcestershire sauce
1/4 tsp sugar
1 clove garlic, minced
Salt, to taste
Pepper, to taste
Salad
1 head romaine lettuce, cored and chopped
2 oz blue cheese, crumbled
6 slices turkey bacon, cooked, chopped
3 hard-boiled eggs, cubed
2 tomatoes, seeded, cubed
2 chicken breasts, cooked, cubed
2 tbsp chives, chopped

Instructions
To make the dressing, combine all ingredients in a blender or plastic shaker and blend until smooth. I'm not sure why, but many recipes call for a lot of oil in their dressings, so I've halved the total oil content so you can taste more of the other ingredients.

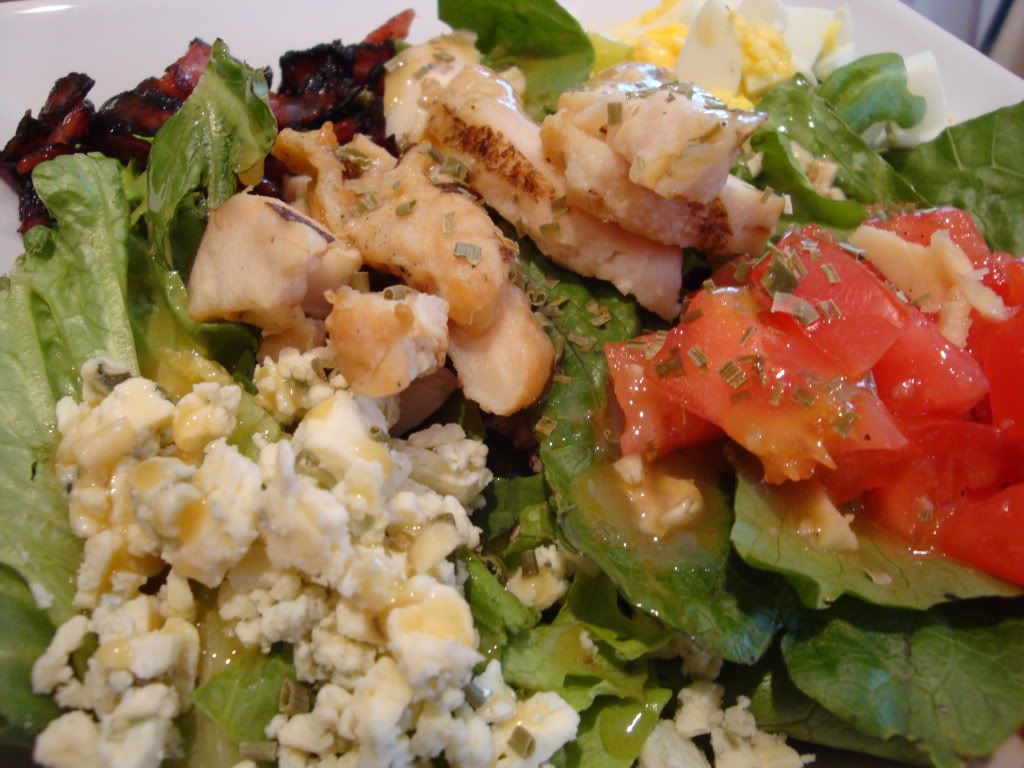
The rest of the salad is pretty straightforward. Put some lettuce on a plate (or plastic container), and top it with the blue cheese, turkey bacon, eggs, tomatoes, and chicken however you like. Dust it all with chives and drizzle on dressing to taste.

Cobb Salad

A good salad should be satisfying. It's as simple as that. If you want to eat a salad as a meal to help cut calories, then you have to do it right. You can't eat lettuce with salt and pepper because you will be hungry in about an hour or so. You also can't go overboard with tons of creamy dressings and calorie-dense ingredients, because that defeats the purpose. This Cobb salad is a good balance of these extremes. You get good protein and vegetables to fill you up without ruining your figure. The dressing in this salad is good, but for me a Cobb is all about the vast array of ingredients that you get to eat in various combinations. A little salty, a little crunch, a little soft, a little bland, you get it all. So if you're tired of the same-old, bland cafeteria options, you can liberate yourself with a little blending and chopping.

Pop Rocks Cookies

Last week our nation celebrated its 234th birthday. I wanted to show my patriotism, so I decided to harness the power of food fireworks.

Pop Rocks Cookies
Adapted from Alton Brown. Makes approximately 3 dozen

Ingredients
Sugar Cookies
3 cups flour
3/4 tsp baking powder
1/4 tsp salt
1 cup unsalted butter, softened
1 cup sugar
1 egg, beaten
1 tbsp milk
2 packets Pop Rocks (strawberry)
Decoration
Egg whites, pasteurized
Powdered sugar
4 packets Pop Rocks (assorted red and blue flavors)

Directions
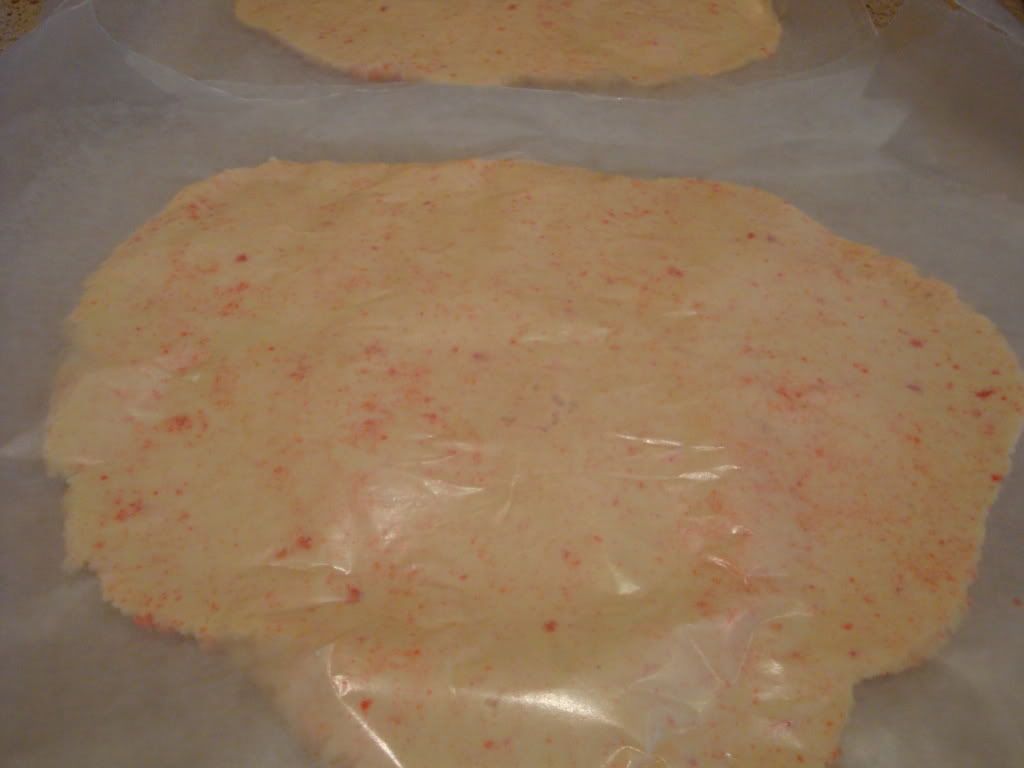
Sift together flour, baking powder and salt. Cream butter and sugar together until light and fluffy. Add egg and milk, beating to combine. Gradually beat in flour mixture on low speed until all the flour is just incorporated. Fold in the pop rocks. Divide dough in half and place between two sheets of waxed paper. Roll dough into a large disc, then place discs in the fridge for at least one hour.

Pop Rocks Dough

Preheat oven to 375 degrees F. Line a cookie sheet with parchment or silicone mat. Remove one disk from the fridge and let it warm for a couple minutes on the counter. Roll the dough on a floured surface until approximately 1/4" thick. Cut out desired shapes with cookie cutter (I opted for stars). Place cookies one inch apart on prepared cookie sheet. Repeat with remaining dough until cookie sheet is full, then place the sheet in the fridge for five minutes. When not using the cookie dough, put it back in the fridge too. Bake cookies for 10-12 minutes until the edges star to turn golden brown. Cool cookies on sheet for 5 minutes, then transfer to wire rack to cool completely.

Baked Pop Rocks Cookies

I used a very simple royal icing on the cookies to allow the Pop Rocks to stick. I would recommend that you do this right before you are about to serve the cookies as Pop Rocks become less powerful as they are exposed to the moisture in the air. For the royal icing, I used about a tablespoon of pasteurized egg whites (forgive me because I did not measure) and whisked in to this about a cup of powdered sugar. Pretty much start with 1 tbsp of egg whites and add as much powdered sugar as you need to get a spreadable or pipable consistency that won't go everywhere. If you want, you can add vanilla to the icing, but I liked to keep it as pale white as I could. Sprinkle cookies with Pop Rocks.

Pop Rocks Cookies

These cookies were a real hit at the barbecue I attended. The cookies themselves have a very mild pop. You can see that some of them sustained some damage from the Pop Rocks during baking, leaving pock marks (sunspots? solar flares?). But the candies strewn on top of the cookies provided the real punch. I specifically chose a plainer cookie so that the Pop Rocks could shine through. Nothing makes adults grin like surprising them with a dessert featuring one of their childhood favorite candies. Hope everyone had as great a Fourth of July as I did.

Saturday, July 10, 2010

Blackberry Sorbet & Ice Cream

Frozen desserts come in all sorts of shapes and sizes. There's everything from the icy granita to fruity sorbet to the Americanized sherbet to creamy gelato to the waffle-cone-crowned king of them all, ice cream. I had a tough decision to make when trying to choose which of these frigid treats to make, and in the end I simply refused to decide.

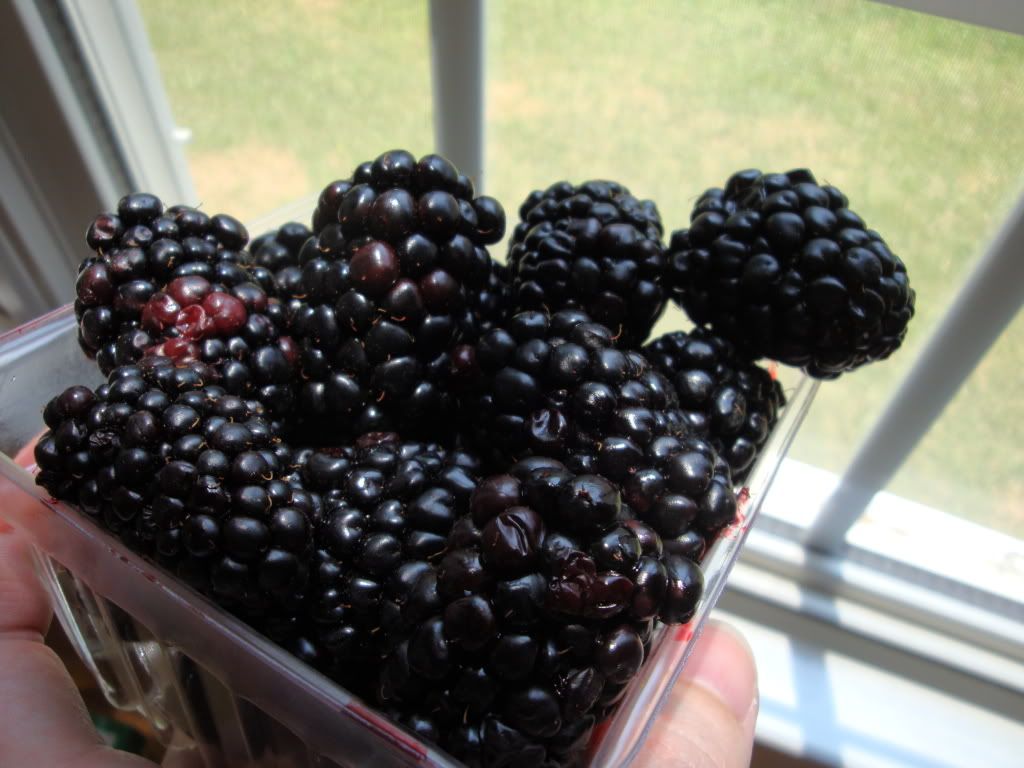
Monster Blackberries

Blackberry season is upon us. I found these monstrous fruits at my local farmer's market. One taste of these violet clusters will make your mind start spinning with possibilities. After much thought, I decided to make both a blackberry sorbet and a blackberry ice cream. It is summer, after all, and you cannot have too many treats to keep you cool.

Blackberry Sorbet
Source: The Ultimate Ice Cream Book. Makes 3 cups.

Ingredients
1/2 cup water
1/4 cup light corn syrup
3 cups blackberries
1 tbsp lime juice

Directions
Combine the water, corn syrup and sugar in a small saucepan. Place over medium heat and stir until the sugar dissolves. Raise the heat and boil without stirring for 1 minute. Turn off the heat and let the mixture cool to room temperature.

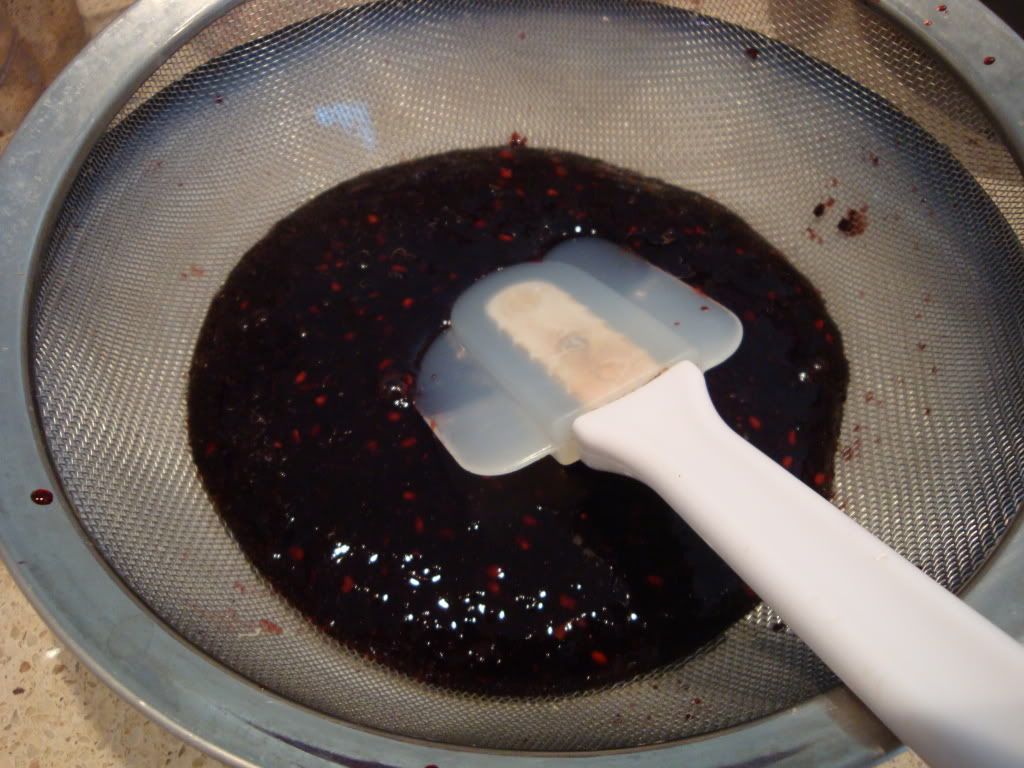
Straining the Berries

Place the syrup, blackberries and lime juice in a food processor and puree until smooth. I strained the mixture after this because the seeds in blackberries love to get stuck in my teeth. Cover and refrigerate until cold. If you are using an ice cream maker that generates its own cold (i.e. not with a frozen bowl), then you can skip the refrigeration.

Stir the sorbet base and pour into ice cream maker according to the manufacturer's instructions. When finished, you can eat the sorbet right away or freeze it until it's more firm.

Blackberry Ice Cream
Adapted from Not So Humble Pie. Makes about 1 quart.

Ingredients
1.5 cups blackberries
1/4 cup light brown sugar
1 cup sugar
1.75 cup heavy cream
1 cup milk
1/2 cup cream cheese
1 large egg (if you're worried about the raw egg, you can leave it out)
1 dash of lemon juice

Directions
Using a food processor, blend together the blackberries and brown sugar. Strain the mixture as in the previous recipe, if desired. Add the remaining ingredients to the food processor and blend until everything looks homogeneous.

Blackberry Ice Cream

Chill the mixture in the refrigerator. Pour the ice cream base into the ice cream maker according to your manufacturer's instructions. Enjoy right away or freeze for a firmer final product.

Blackberry Twins

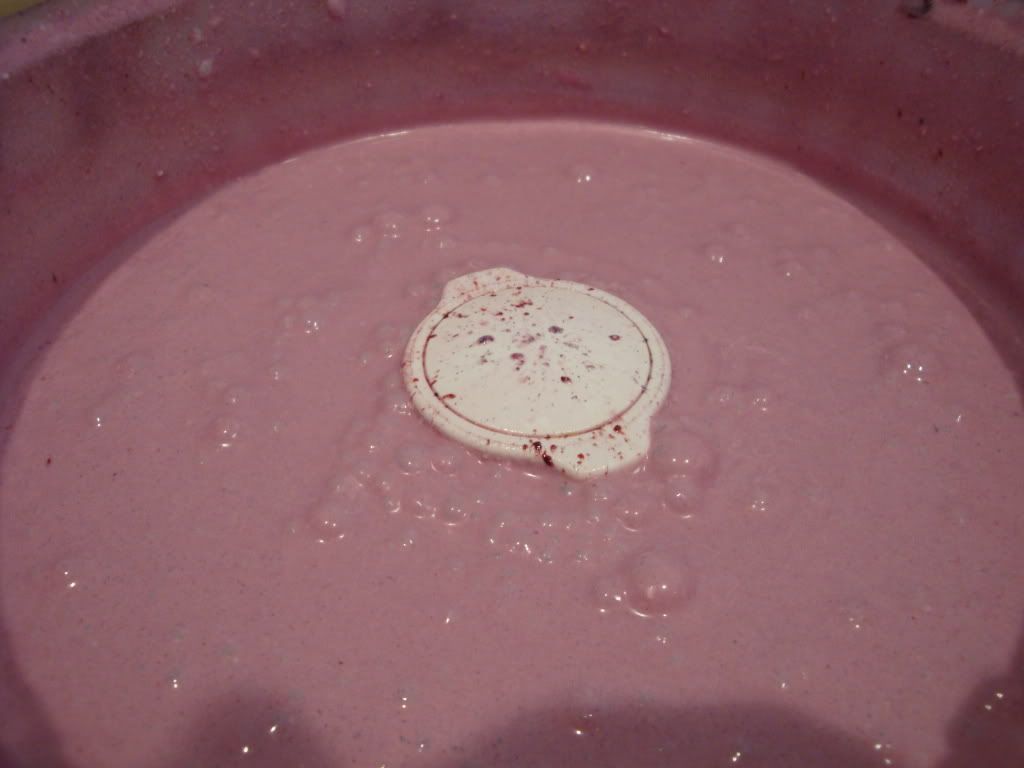
The first aspect of making these two desserts back-to-back was that the sorbet turned out a very dark, black-purple color while the ice cream was a lovely lavender (perhaps good for Easter-time?). The sorbet has a very intense blackberry flavor. Depending on the tartness level of the berries you choose, it could easily be anywhere from very sweet to quite bitter, so I would recommend only making this when you have moderately sweet blackberries on hand. The ice cream was very creamy and had a more subtle flavor. I was surprised by the addition of cream cheese (mascarpone in the original recipe), and you can taste it in the background. In the end, I'm glad I made both desserts because they go very well together.

Monday, July 5, 2010

KFC Double Down

American food preferences are difficult to understand. There always seem to be multiple trends existing, however discordantly, at the same time. It usually boils down to two main paths - one wholesomely packing as many nutrients into food as possible, and one optimizing the number of calories for the fewest dollars spent. The former gives us the current wave of organic, locally-grown produce and livestock. The latter yields the convenience foods with fast-food chains and other restaurants finding new and more absurd ways of getting more calories into every bite. The focus of this post is on this sector that is often shunned and belittled, despite its influence on our food and our culture.

As America became a more prosperous nation in the twentieth century, with food aplenty and mass production in full swing, fast food came into existence. Simple menus including burgers, the quintessential, hand-held, American cuisine, expanded to include French fries, fried chicken, milkshakes, and just about anything else that someone on roller skates can carry. A spinoff of this sector is the fried foods, so often beloved at state fairs and in home kitchens. If you've ever had a fried Twinkie, Oreo or PB&J sandwich, you can thank the rise of of McDonald's and Burger King. While some fast-food joints are trying to show their lighter side (eliminating super-sizing, offering salads and displaying calorie counts), at the same time they develop new and ever more creative vittles. The newest kid on the block is KFC's Double Down.

KFC Double Down

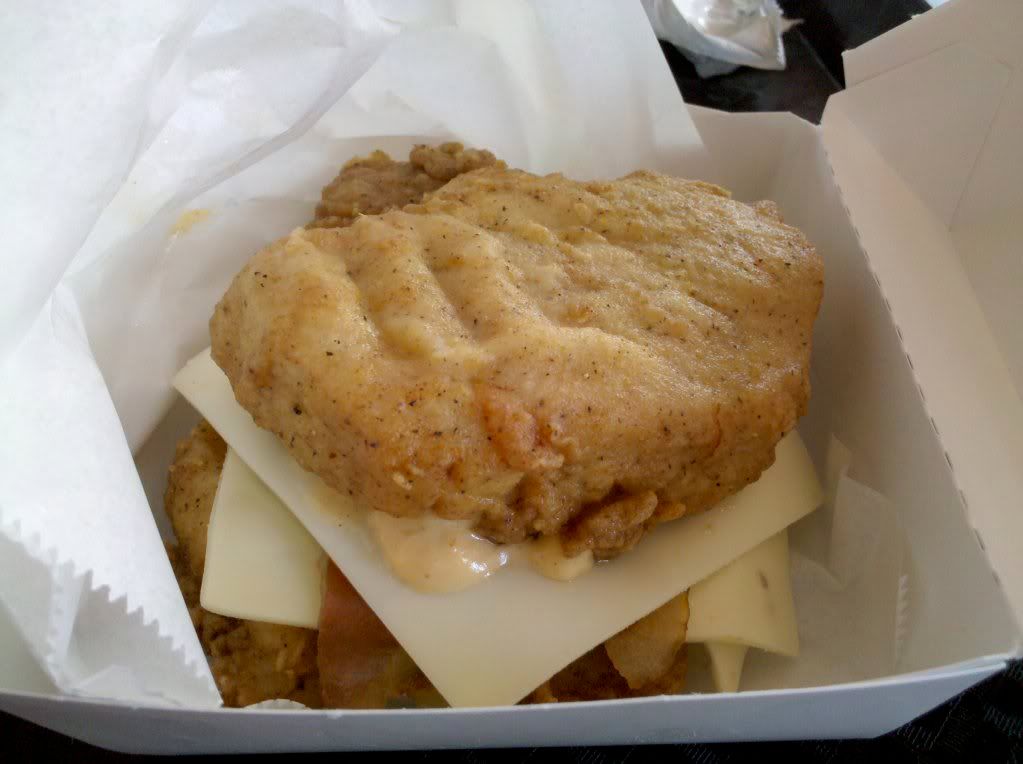
The formula is simple and almost right out of an American elementary school textbook: 2 fried chicken breasts + 2 slices of pepper jack + 2 strips of bacon + 1 squirt of spicy mayonnaise = 1 Double-Down. After my stomach stopped churning at the thought of the fat and sodium alone, my mouth started to water. But I knew I could not tackle the bunless 600 calories alone, so I found a friend to split this monster. After seeing all the commercials, I was a little underwhelmed by the size of the sandwich. It was probably about the size of my fist (and I have smaller-than average sized hands). But it does pack a punch on your tummy. In reality, this "sandwhich" is just a sum of its parts. It tasted fine. Nothing spectacular or life-changing about this next step in our fast-food evolution. But this may just be an intermediary on the way to the next big thing to hit the food world. Try it if you dare...or maybe just have a salad.